


Second Grade Art Lesson 28
Making Garden Flowers, Part 3 Coloring in Our Flowers
Objective:
The student will complete the work they began last week by using markers to color in the flowers.
Materials:
last weeks flower drawing, markers
Procedure:
To begin our work today, think about the flowers you selected for your drawing. Look at the flower you copied from and try to determine if you will use the same color s or if you need to change some of the colors. Try getting a plan in your mind about the color design of your picture. Once you feel pretty sure about how you want to color, begin the work. Be very careful to not get in a hurry and do scribbly work. Control your markers. You will find that if you draw lines back and forth rather than coloring the same way you do with the crayons, you will get better finished results. If you get hold of a marker that is giving out faded color, put it back and search for another one with more ink in it. Once you have completed coloring in all of the flowers, pick a color to fill in the background. Again, carefully control your marker to complete the background area. Finally, watch the side of your hand! If you lay it on top of wet ink you may pick up the color on the side of your hand and start making stamp prints all over your paper. To avoid this you may want to keep a piece of scrap paper under you hand while you are coloring.
Conclusion:
When everyone has completed their work mount the drawings to display for the entire school to enjoy. Encourage the students to look at each piece and find one positive attribute of the work and tell it to the artist.
Artwork and Examples used in this lesson
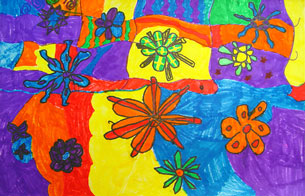
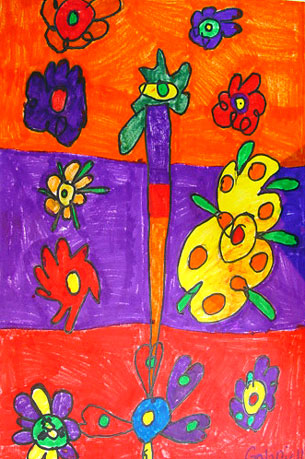
Teachers Example
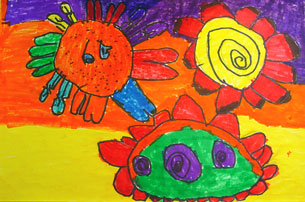
Student Artwork
Student Artwork
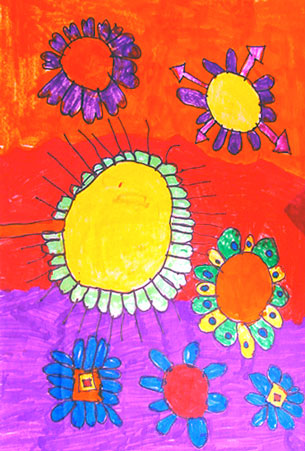
Student Artwork


Arttango © All Rights Reserved 2013. All logos and images used on this site are the property of the rightful owner