


Second Grade Art Lesson 21
Heart Prints, Part 2
Objective:
The students will complete their heart prints by adding finishing touches with marker to the inside of the heart shapes.
Materials:
markers and the student work from last week
Procedure:
Begin by having the students lift off their heart shapes from the painted paper. (They may want to keep these to use as little note cards). Give them an opportunity to enjoy the way their work looks. Typically they are very surprised to see the contrast between the painted area and the stark white heart shape that remains. Next, explain that we are going to complete our work by filling in the heart shapes with patterns that make the hearts more interesting to look at. Tell them to be careful about selecting colors, two or three colors per heart should work fine. They may want to color them in one solid color, and many times the students want to leave them white. In either case, encourage them to at least put some kind of patterned border around the outer edge of the heart just to build interest. They may want to practice some ideas on scrap paper before they begin on the final work. Get them to work slowly and deliberately, not rushing their work. Have each student sign their heart print in the lower right hand corner of their print.
Conclusion:
Display the work by mounting each piece on poster board and labeling with the students name and grade. Encourage each student to look carefully at the composition of each work and find the ones they find most appealing. Try getting them to explain what they think the artist did to cause the work to catch their eye. Suggest that each student think of an appropriate title for their work. Display them in the school for everyone to enjoy.
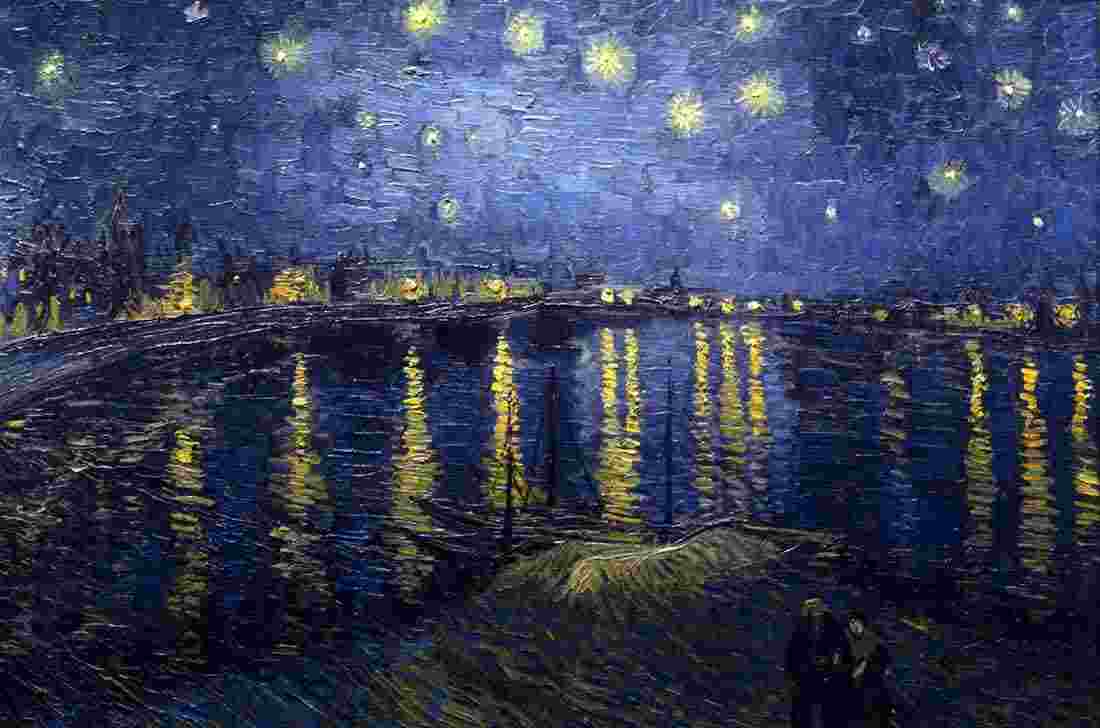
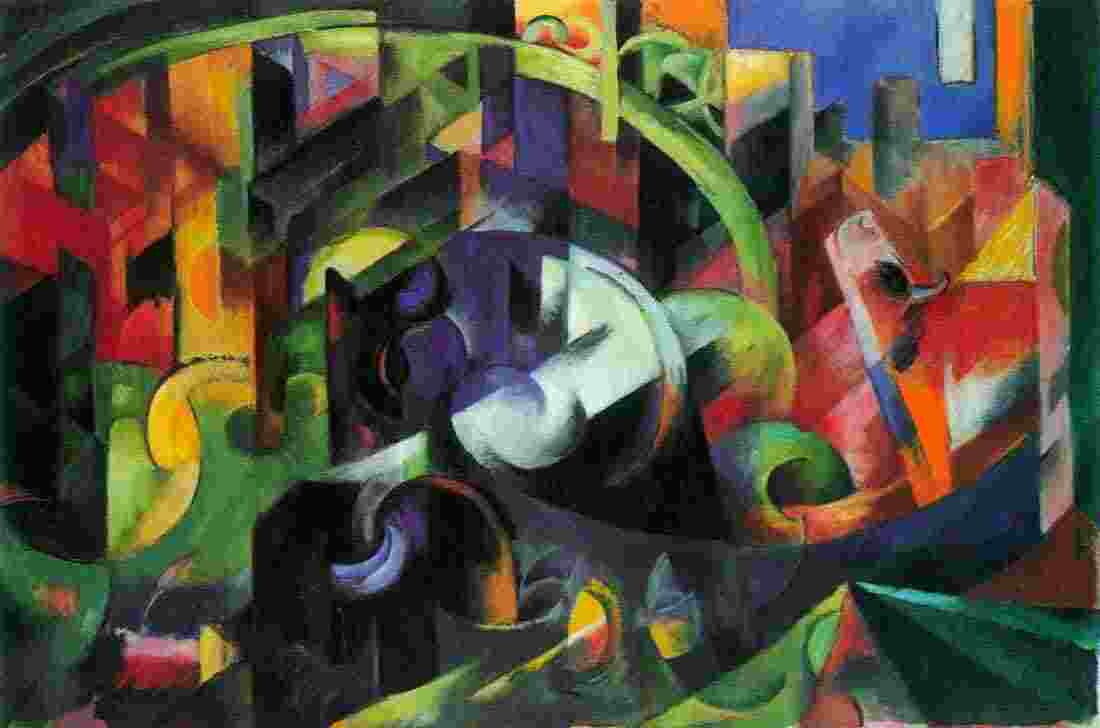
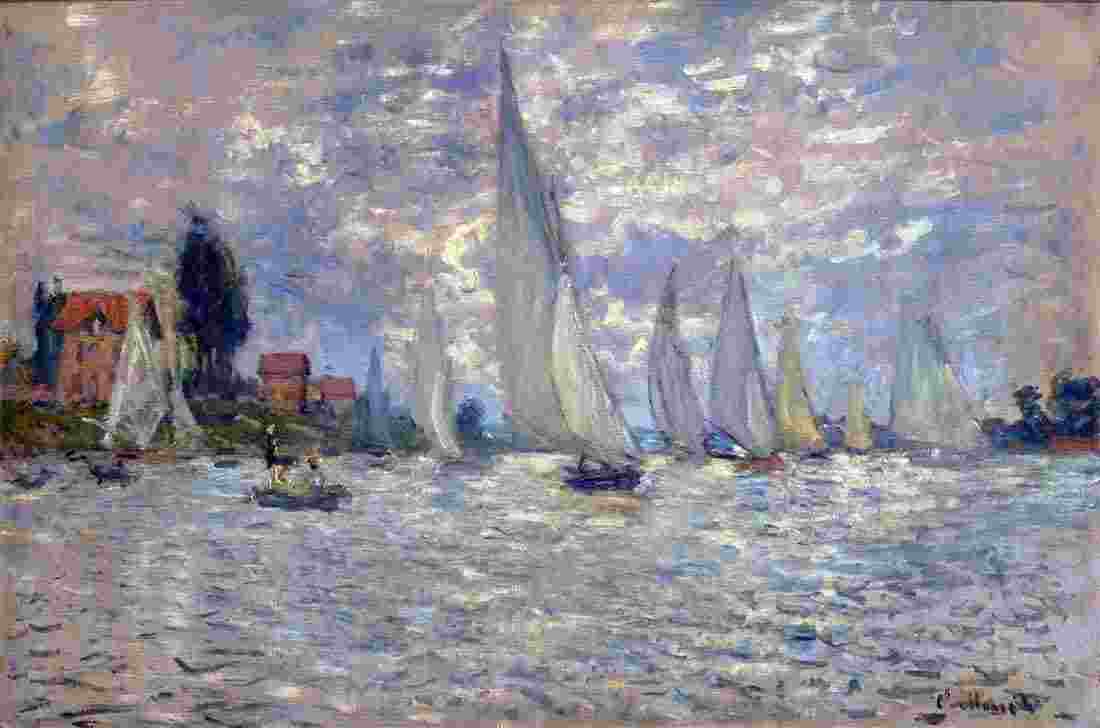
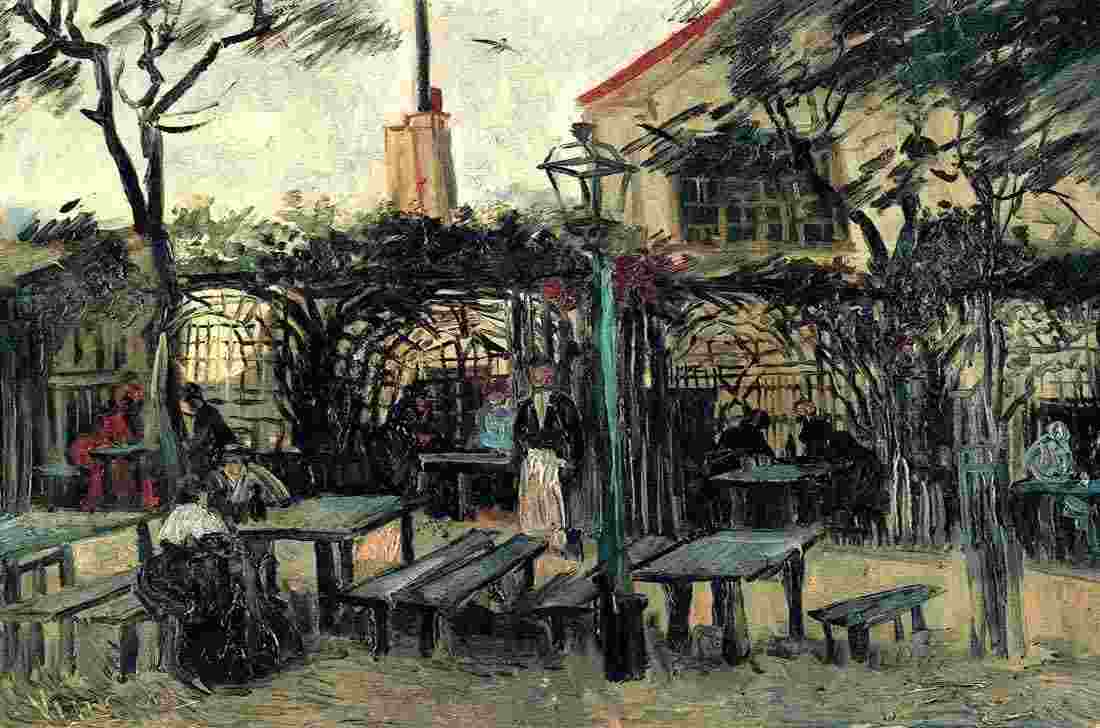
Artwork and Examples used in this lesson
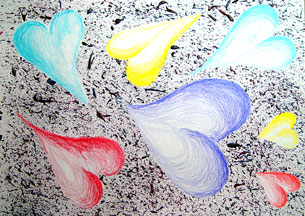
Teachers Example
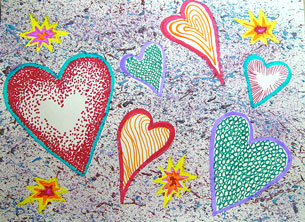
Teachers Example