


Fourth Grade Art Lesson 19
Printmaking, Part 2 Printing Our Cards and Foiling Over Our Plate
Objective:
The student will follow the proper print making procedure and print as many cards as they can. The students will use their printing plate for another work of art which will be completed in the next lesson.
Materials:
printing plate that we made last lesson, brayer (or paint brush), surface suitable for spreading ink, waterproof printing ink (or tempera paint), newspapers to cover the work areas, good heavy weight card stock for printing on, paper towels or baby wipes for getting ink off of hands
Procedure:
To begin printing you must understand the process so you can carry it through successfully. The first step is to transfer the ink onto your plate. We do this using a brayer. Once the plate is inked you will “pull your print”. The print must be laid in a safe place to dry. Ideally, you would have a separate table for each step, inking, printing, and drying. To ink your plate you must load the ink onto the brayer. Do this by squeezing ink onto a clean, stationary surface. Use the brayer to roll through the ink. The goal is to evenly coat the brayer with ink so you can transfer it to your plate. Once your brayer is coated, roll it over your plate to ink the surface of your printing plate. You may need to roll it in the ink and on your plate before you get an even coating on your plate. Once you have your plate coated, wipe any ink you may have gotten on your hands off and move to the printing table. Carefully place your plate onto the right hand side of the paper so that when you fold your paper, the card will open properly. Press the back side of your plate making sure you cover the entire area with pressure. You may flip your plate and paper over then pull the print by peeling the paper off of the plate. Your finished prints should be signed and numbered after they are dry. Sign your name with pencil in the lower left-hand side of the print. If you have a title for the work you write it in the center. To number your prints, you must know how many you completed. Let’s say you pulled five prints. The first one, in the lower right-hand corner, would read “1/5”, meaning the first print out of five. Print as many cards as you can. When you have finished, take a piece of aluminum foil and lay it on top of your plate. Starting on one side, press you fingers along the surface forcing the foil into the recessed areas. This process requires a lot of pressure and is slow moving. Be patient as you work across the surface. Fold the foil behind the plate and put it in a safe place until the next lesson.
Conclusion:
Review the terms we have used today: 1. brayer, 2. inking, 3.pulling a print. Do not forget to sign and number your prints. When they are dry, fold them in half and use them for sending notes and letters to friends and family.
Artwork and Examples used in this lesson

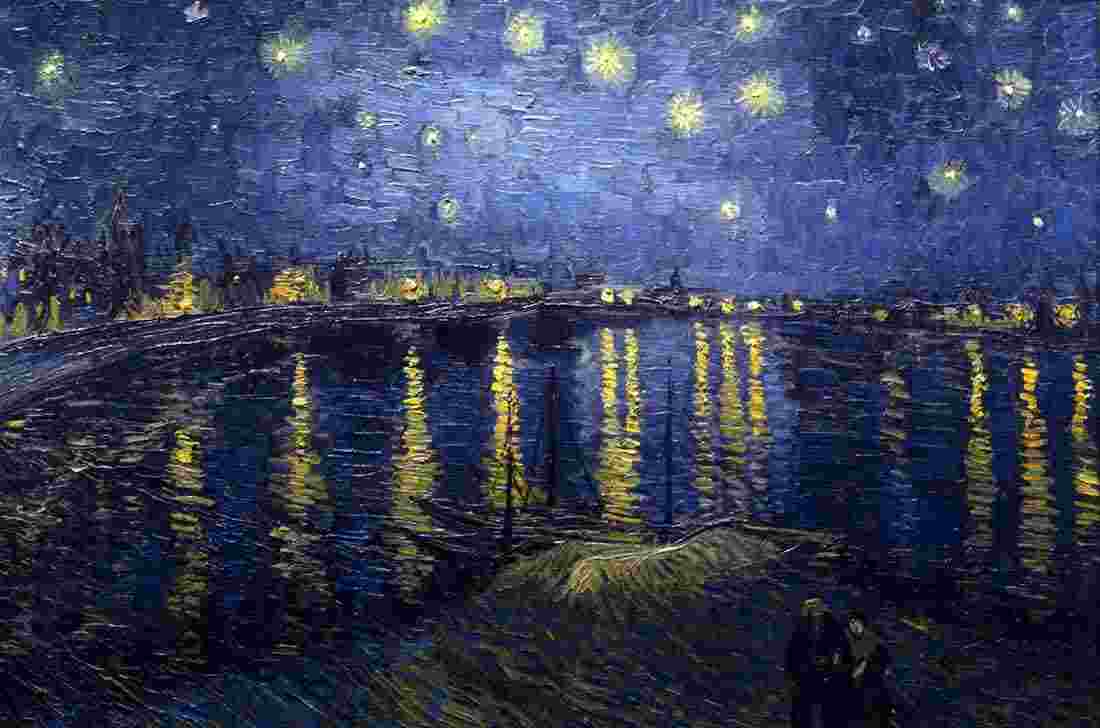
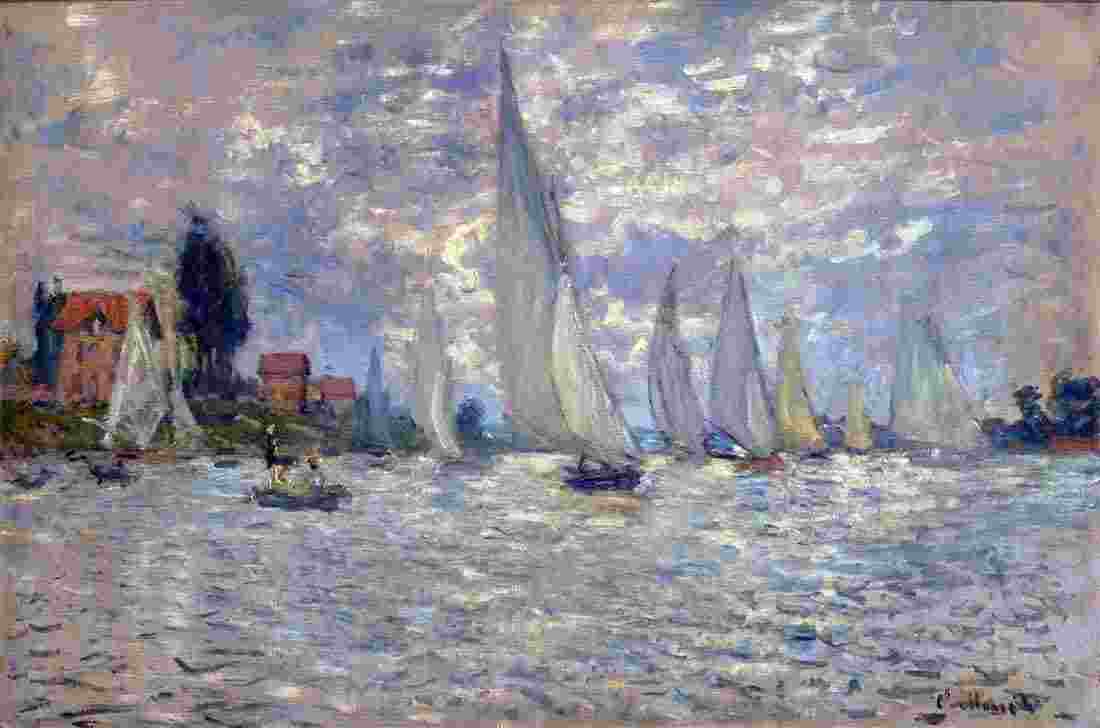
Teachers Example
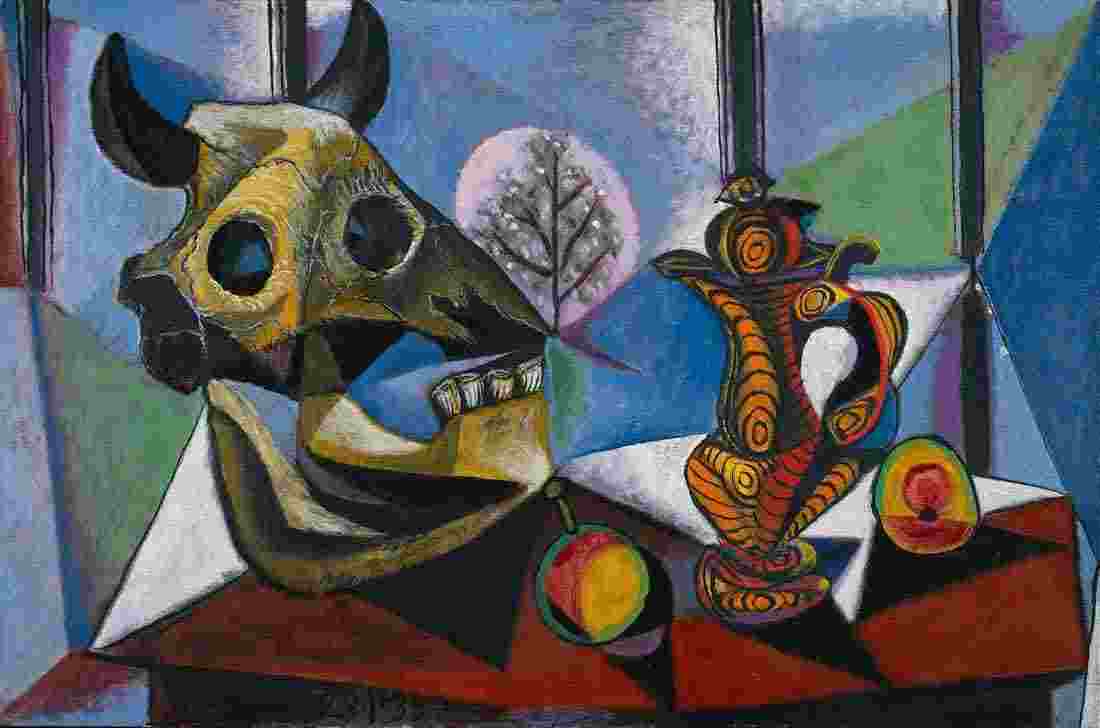
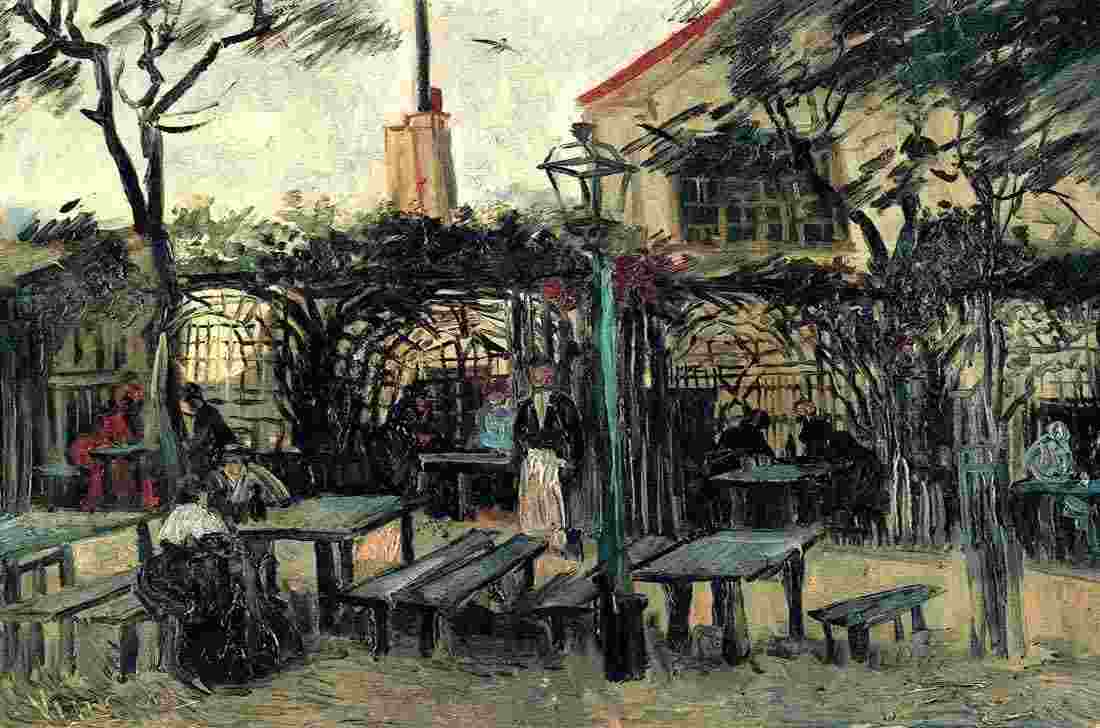
Teachers Example
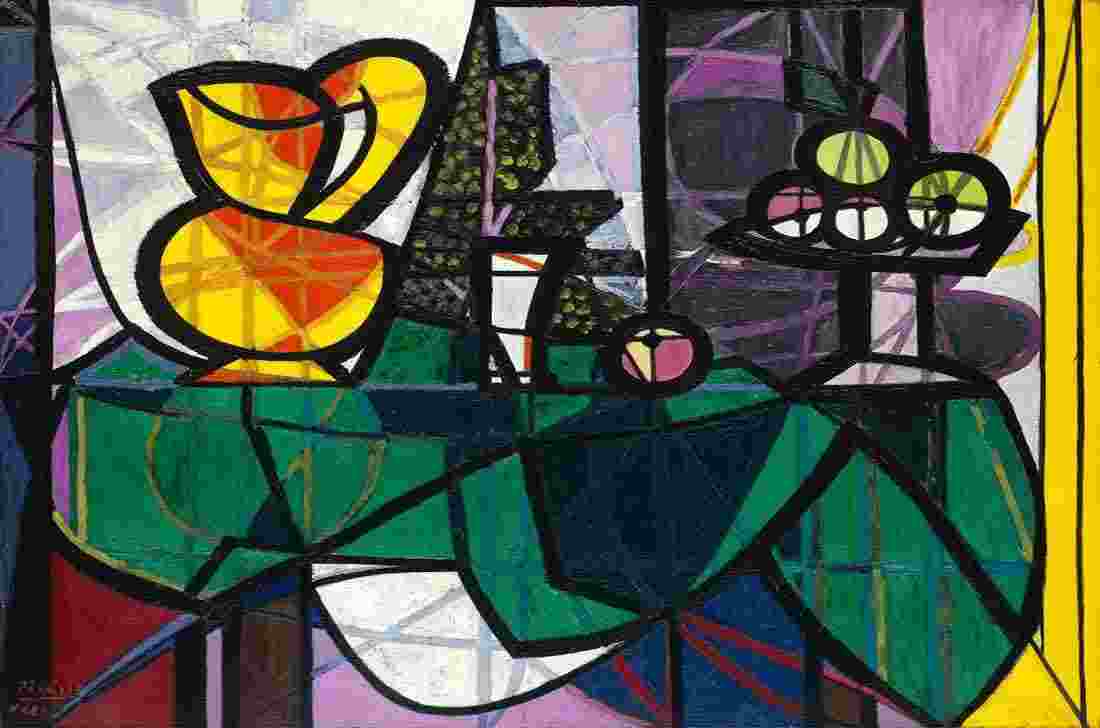
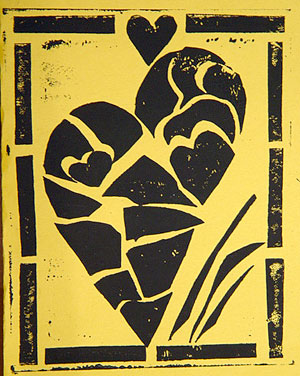
Student Artwork
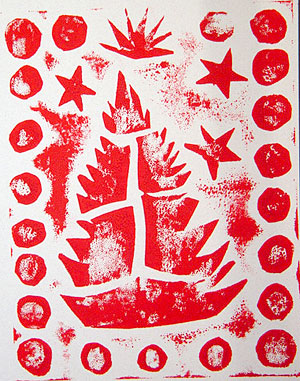
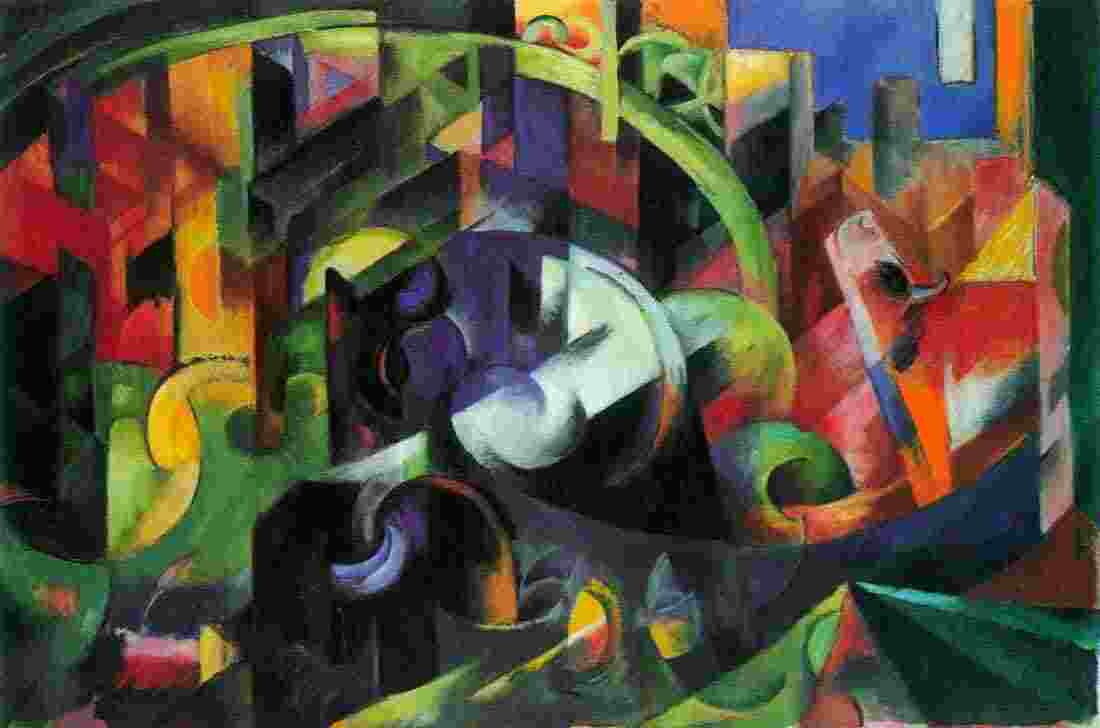
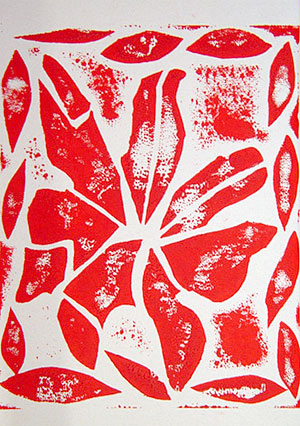
Student Artwork


Arttango © All Rights Reserved 2013. All logos and images used on this site are the property of the rightful owner