Third Grade Art Lesson 15
Looking at Mosaics, Part 1 Creating a mosaic box
Objective:
The students will learn what a mosaic is and create a box with a mosaic design on the top.
Materials:
Small gift box (can be obtained though department stores which will frequently donate a classroom quantity to schools), colored paper (magazine paper, construction paper, or any heavy paper with good color or a bag of multi-colored confetti), glue sticks, scissors
Procedure:
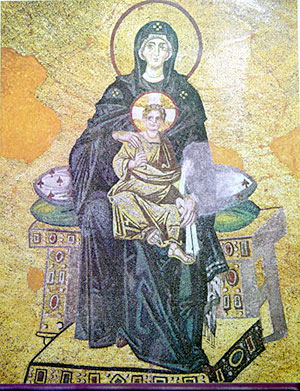
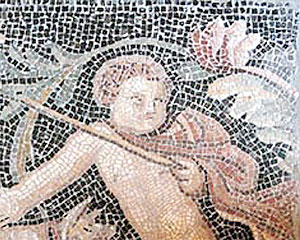
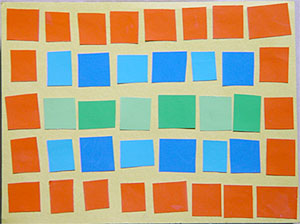
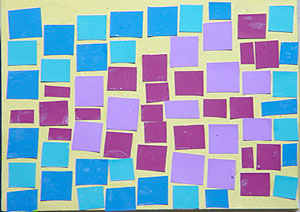
A mosaic is an arrangement of small colored glass pieces called tesserae. The tesserae are arranged to create an image. Tesserae were common in the early fourth and fifth centuries and frequently covered entire walls. The amount of work involved in creating a mosaic is great. You may have seen mosaics in your community. Today we are going to create a mosaic on the top of a box, which you may want to use as a gift box. Begin by taking your colored paper and cutting it into tiny squares. Next select a color for the background of your mosaic. Trace your boxtop onto your paper and cut it out. Glue that onto your boxtop. On your background surface, begin placing the small colored pieces. Try making different design arrangements. Do not be overly eager to glue shapes down until you are sure you have an interesting arrangement. Once you have a pleasing design, glue each piece down carefully, using your glue stick. Set your box in a safe place to dry; we will complete it next week.
Conclusion:
Ask the students to describe what a mosaic is. If time permits have them look mosaics up on the internet to find as many examples as possible. Set the boxes aside to complete next lesson.
Artwork and Examples used in this lesson

Christian Mosaic Design

Roman Mosaic

Teachers Example

Student Artwork


