


Third Grade Art Lesson 14
Funny Faces, Working with Photomontage
Objective:
The student will define photo montage and create a photo montage of a funny face.
Materials:
Magazines for cutting, scissors, glue stick, background sheet of construction paper (any color)
Procedure:
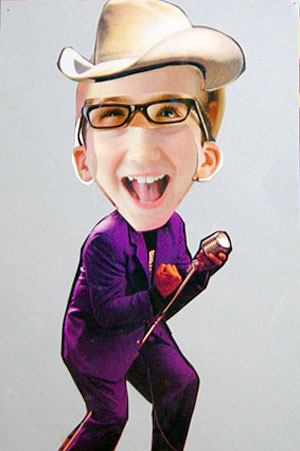
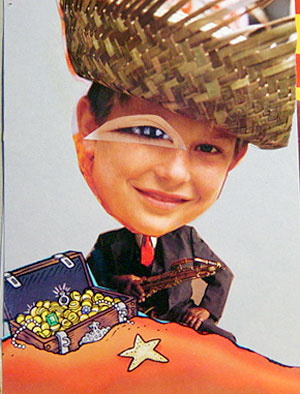
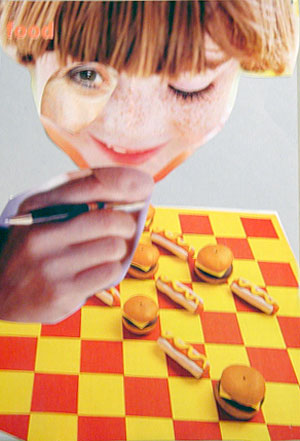
Today we will create a photo montage. Can you guess what a photo montage is? Like the word suggests, a photo montage is an arrangement of photographs imposed on top of other photographs to create an unreal situation or image. You have probably seen many photo montages as they are frequently used in advertising. Our photo montage will be using people's faces as the subject. Begin looking through your magazines to find eyes, nose, ears, mouth, etc. Or you may begin using one face and adding other eyes, etc. on top of it. Cutting your pictures is important. Be sure to carefully cut along edges of the pictures. Before you glue anything down be sure to play with your pictures as though they were puzzles. Try several arrangements before you make a final decision. One note of warning, as you're looking through your magazines, stay focused on looking for faces as it is easy to get sidetracked looking at pictures and reading stories. As you work you may catch yourself laughing, maybe even hysterically, at some of the combinations you find. You want your photo montage to be somewhat believable, although it will also likely be comical. Have fun while you work, stay focused, and when you have your most interesting arrangement, carefully glue your pieces down with a glue stick.
Conclusion:
Encourage the children to enjoy each other's work. This project can easily turn into a creative writing project. Have the group use the left over shapes to create their own class photo montage.
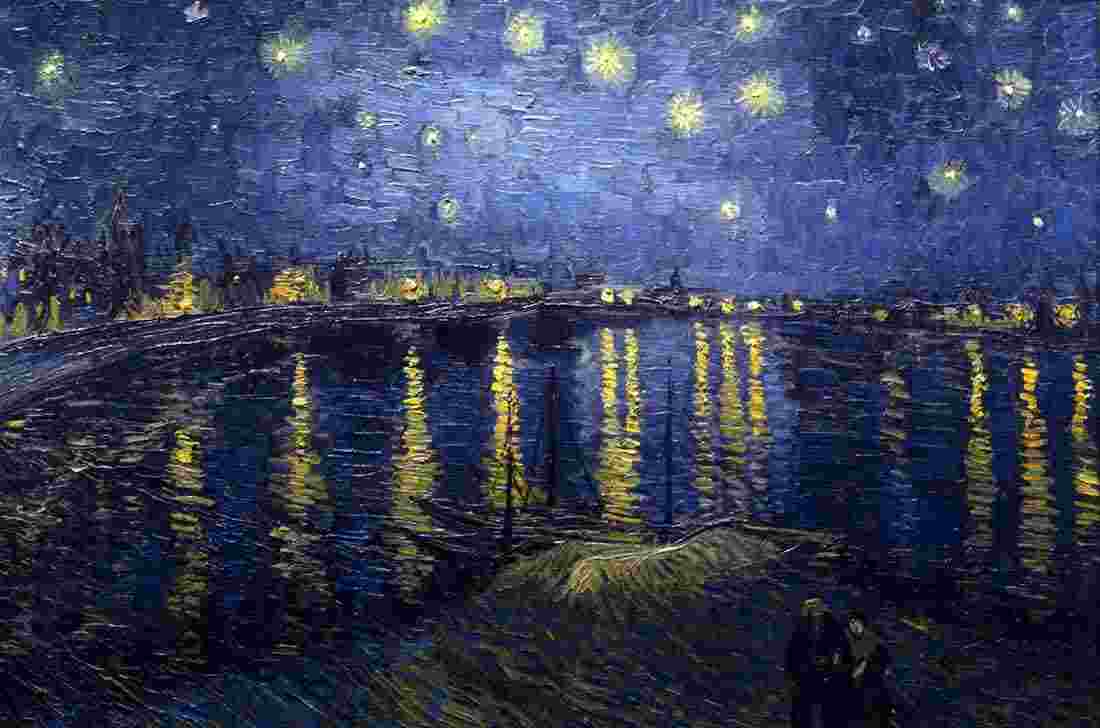
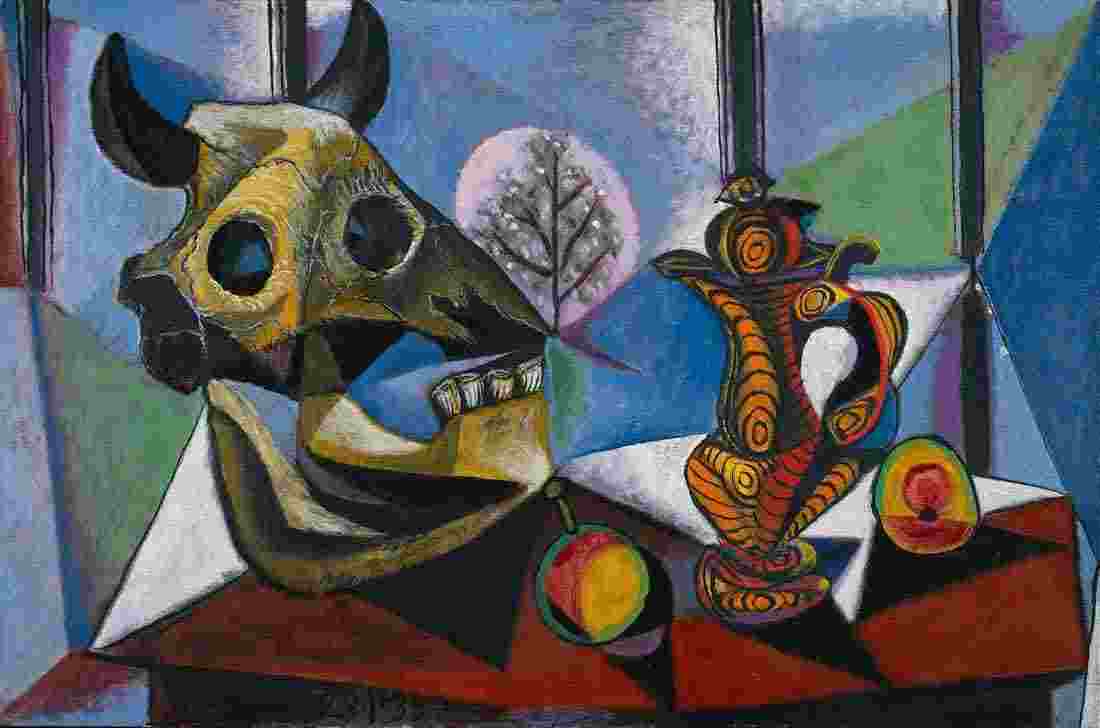
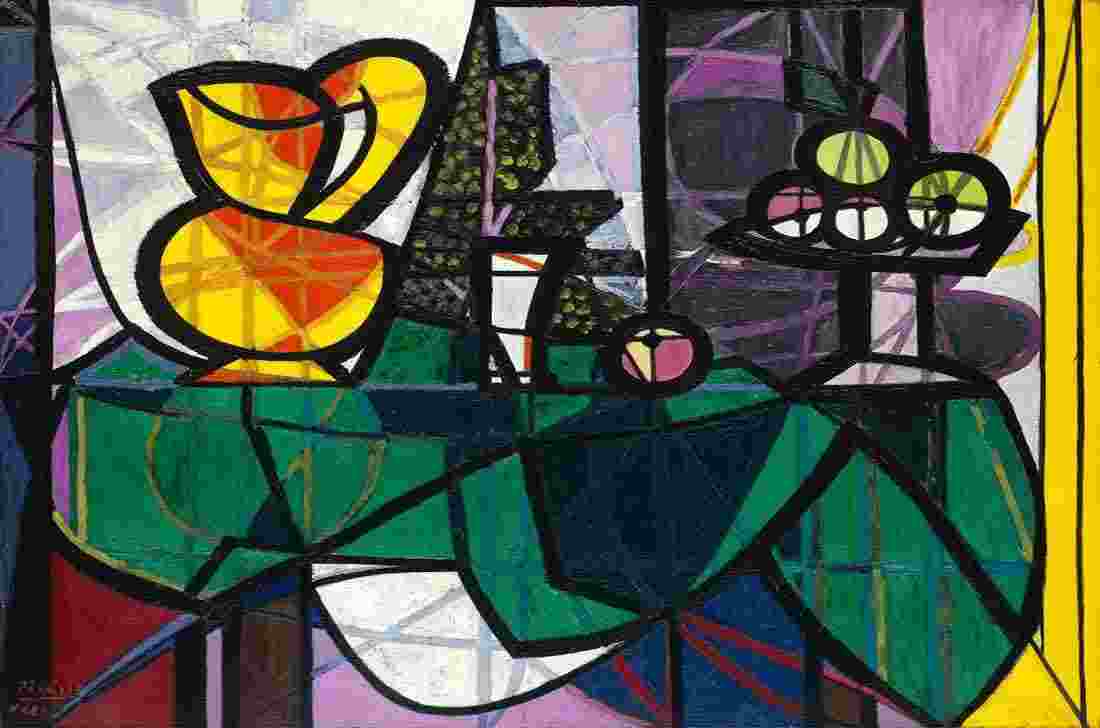
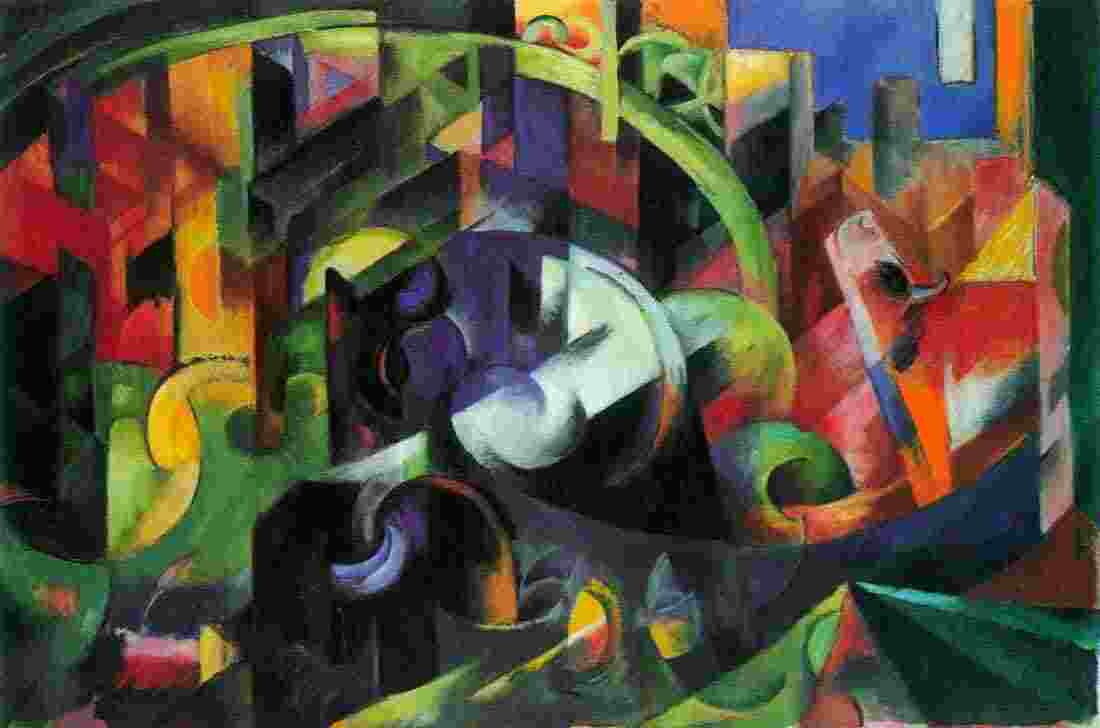
Artwork and Examples used in this lesson
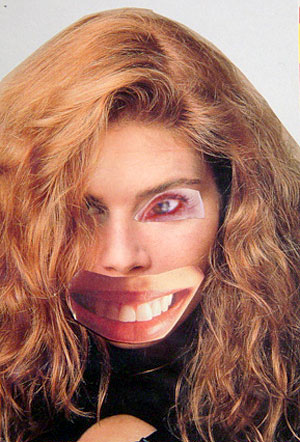
Student Artwork
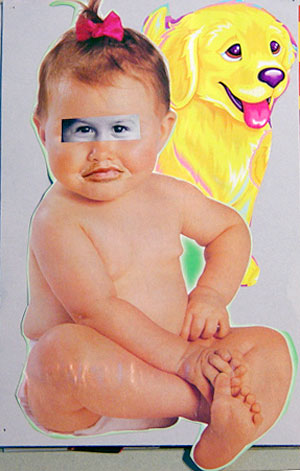
Student Artwork
Student Artwork
Student Artwork
Student Artwork


Arttango © All Rights Reserved 2013. All logos and images used on this site are the property of the rightful owner