


Kindergarten Art Lesson 5
The Art Element Shape, Part 3 Using Shapes and Lines to Create Non-objective Art
Objective:
The students will cut shapes from paper and discover how tracing lines around the shape creates new shapes. The student will also learn about using a color scheme.
Materials:
Assorted colors of construction paper, glue stick, one 12 x 18 white paper and markers.
Procedure:
Begin this lesson by reviewing what a shape is (an area enclosed by a line). Explain that we are going to create a “non-objective” work of art. This means that the work does not have a recognizable subject matter such as a house or tree or person, but rather the art work will be made just by using the art elements shapes and lines. Require that each student selects three colors of construction paper and the same three colors of markers. Cut out four of the same shape from one color, four of another shape from the second color and three of the same shape from the last color. For example, the student may have four red squares, four orange circles and three yellow triangles. Encourage the children to cut their shapes fairly large (2 inches or bigger). Once they have all eleven shapes cut out, remind them how we moved our circle shapes around on the white paper in the last lesson to find a good placement for them. Likewise, they should spend a couple of minuets “playing” around with the placement of their shapes. Each shape should be separated from the others (no overlapping shapes). Once they decide where they want their shapes to be, have them glue each shape in place. Next, have them begin tracing around the shapes using markers that are the same color as the paper. For example, if the colors are red, orange and yellow, they might begin outlining each shape with a red marker first with one outline. Next they might pick the orange marker and trace around each shape with a second outline and then using the yellow marker trace around each shape with a third line. Continue with this pattern until the entire white paper is filled with lines. In order to accomplish this the teacher needs to gently encourage each child to do their work carefully and completely. They have a tendency to claim being finished long before the paper is filled. Have them press on until the work is complete. Show enthusiasm as the new shapes emerge as the white space begins to fill up.
Conclusion:
Spend time looking at the works and talk about the different color schemes the students selected. Have the children point out the new shapes that developed as a result of tracing around the construction paper shapes. Display the work for everyone to enjoy.
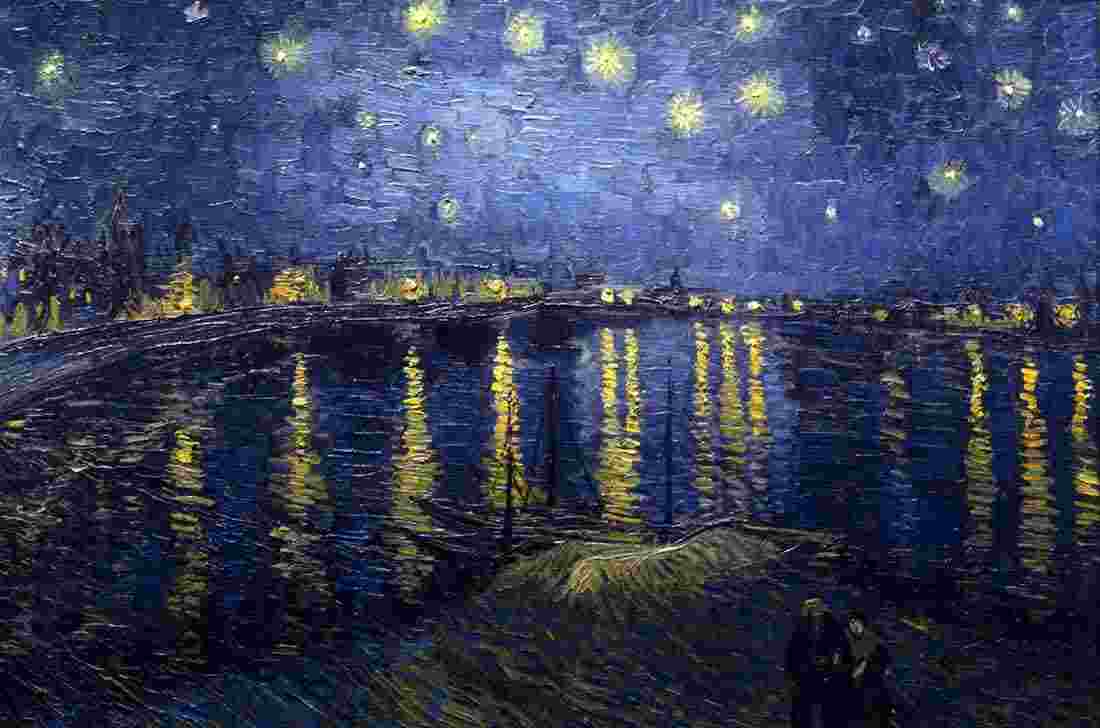
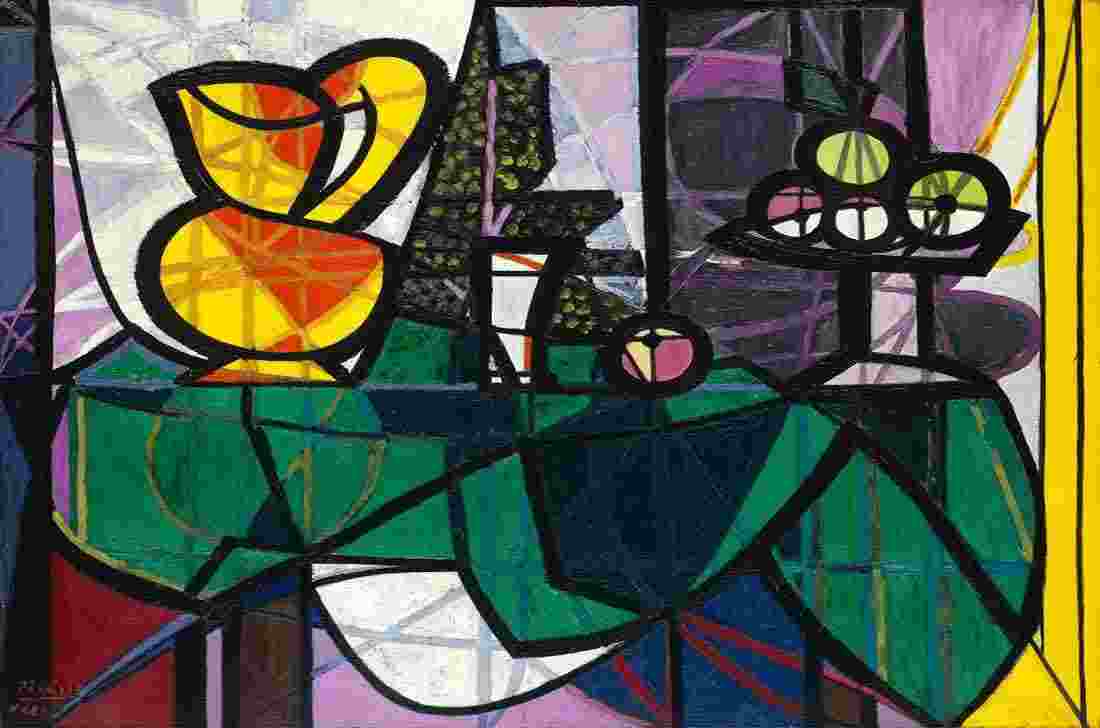
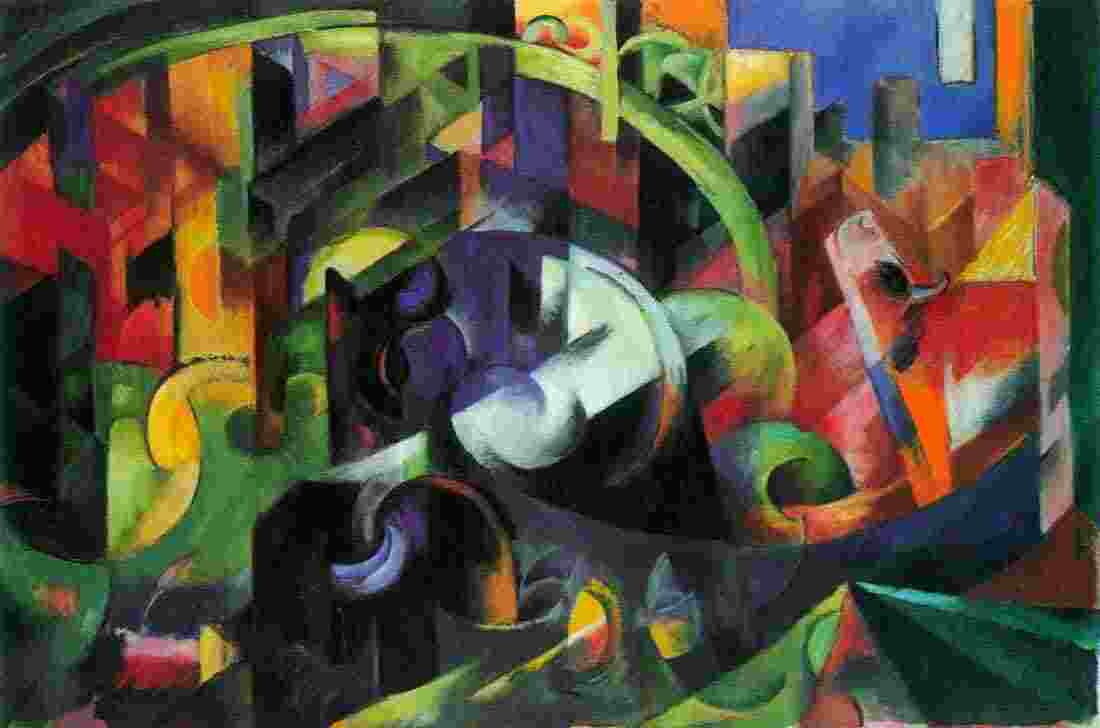
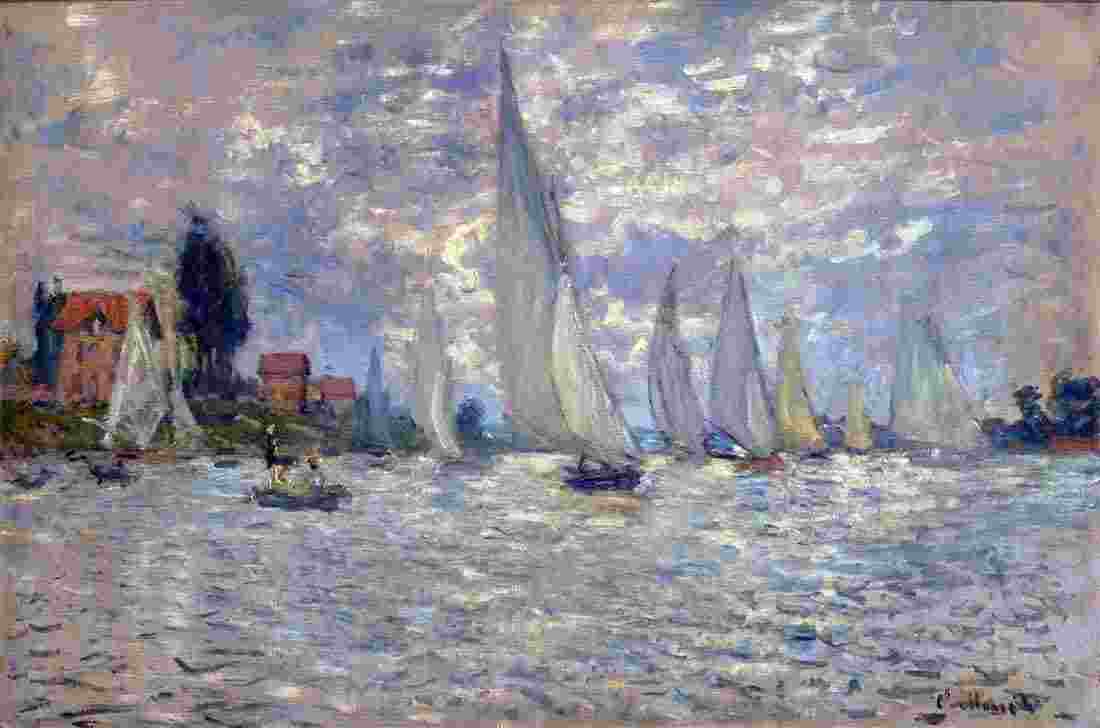
Artwork and Examples used in this lesson
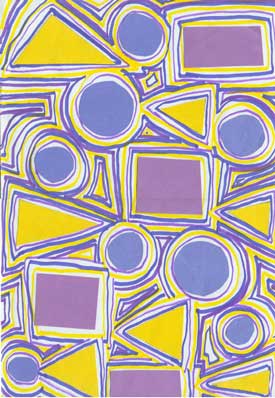
Teachers Example