


Kindergarten Art Lesson 26
Introduction to Watercolor Painting, Part 1 Looking at Spring Trees
Objective:
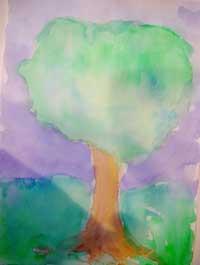
The students will learn how to mix watercolors and paint with value. Each child will complete a watercolor painting of a spring tree.
Materials:
9” x 12” heavy white paper (construction paper will work fine), watercolor pans, a brush, a cup of water and a paper towel for each child.
Procedure:
Have the students recall the fall/winter trees we looked at earlier in the year. Remind them we focused on the thick and thin lines in our drawing to make the tree look like a tree. Show examples (either real or from photos) of spring trees. Point out how the leaves create a roundish shape above the trunk. Have them orient their paper vertically and distribute the watercolor pans, brushes, water and paper towels. Ask them to repeat what kind of paint they have, watercolor, and ask them if the name indicates anything else we will need. Of course, its water. We begin by putting a puddle of water in the top of the pan. Pull out some green to mix in the water. Explain that the water is like adding white, the more you have the lighter the color will be. Ask what two colors make green. Yellow and blue will make green and we can add a little of each of these colors in our paint puddle. Show them how we want the top of our tree to fill the upper portion of our paper. Paint a large blob of light color to make the tree top. Slowly add more color to get darker values of color in the tree top. Next, have them rinse the color out of their brush by gently pressing it against the side of the cup in the water. Make another puddle of water in the top of the pan. This time, add in brown, yellow, orange and red to get different values for the tree trunk. Encourage them to be careful not to make the trunk of the tree to fat. Next, go back to the green and paint in the ground, pointing out how the horizon line should come up behind the tree trunk. Finally, include a sky using blue and purple values. Encourage the children to build up their colors slowly and to start with the lightest colors first, (by adding lots of water).
Conclusion:
Conclusion:Ask the children to name the type of paint they used for their painting. Ask them how they make the colors lighter and darker 9creating values). Put the paintings in a safe place to dry. When they are dry you may want to press them beneath a stack of books to flatten them out. We will complete the work in our next lesson.
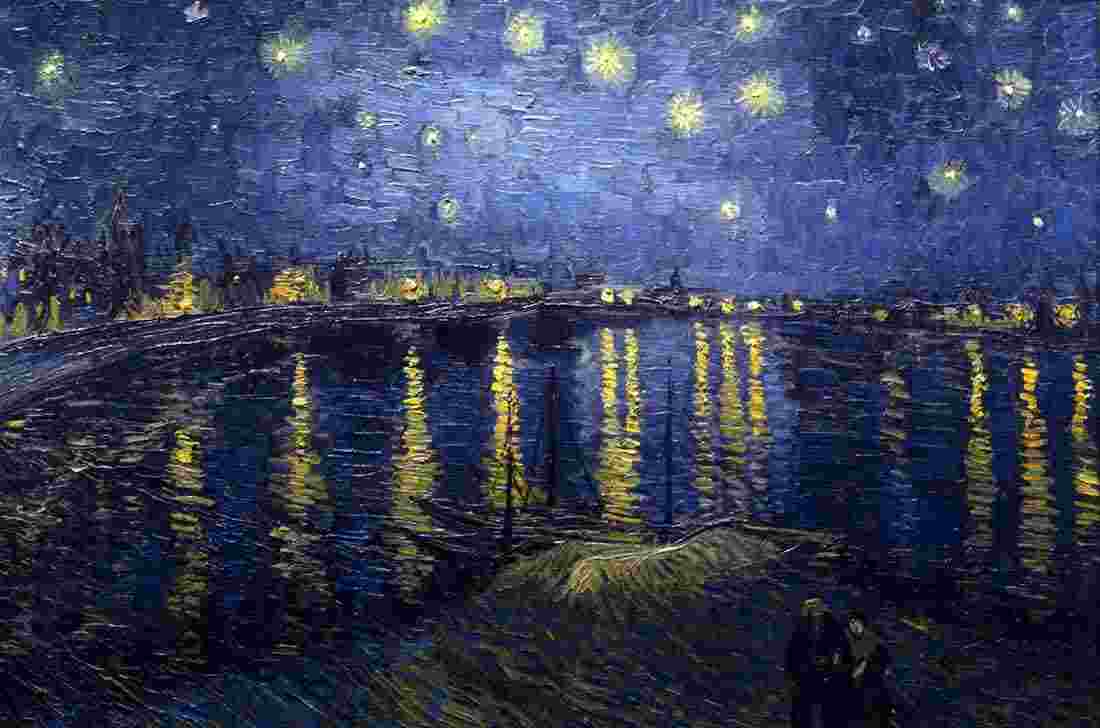
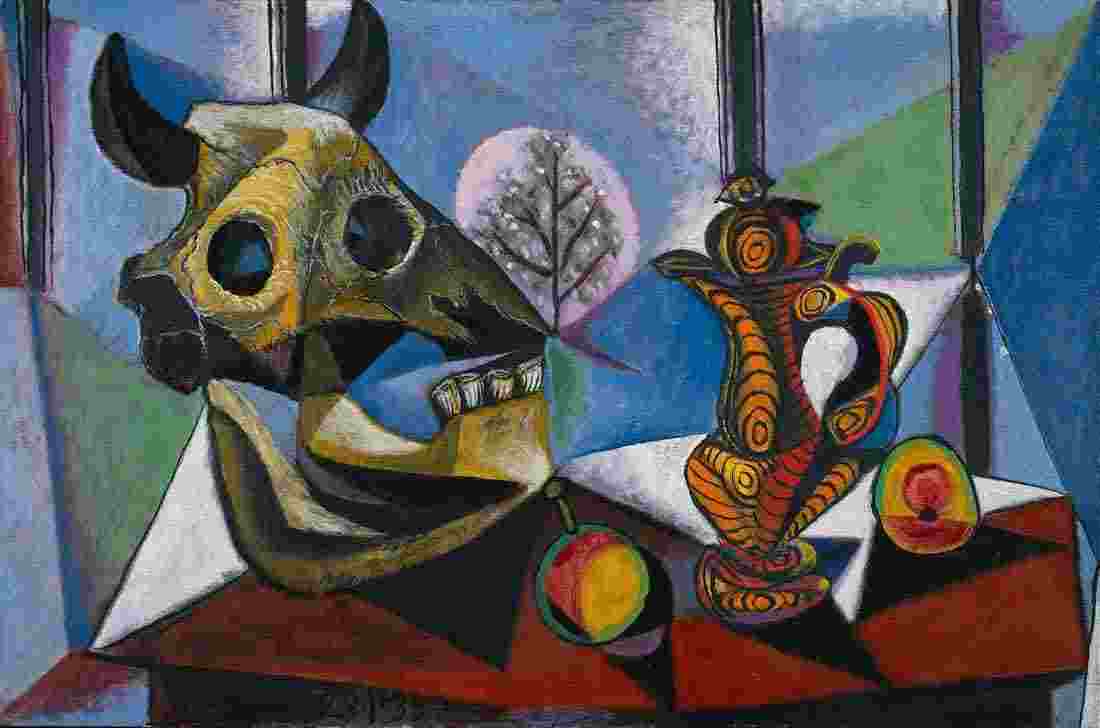
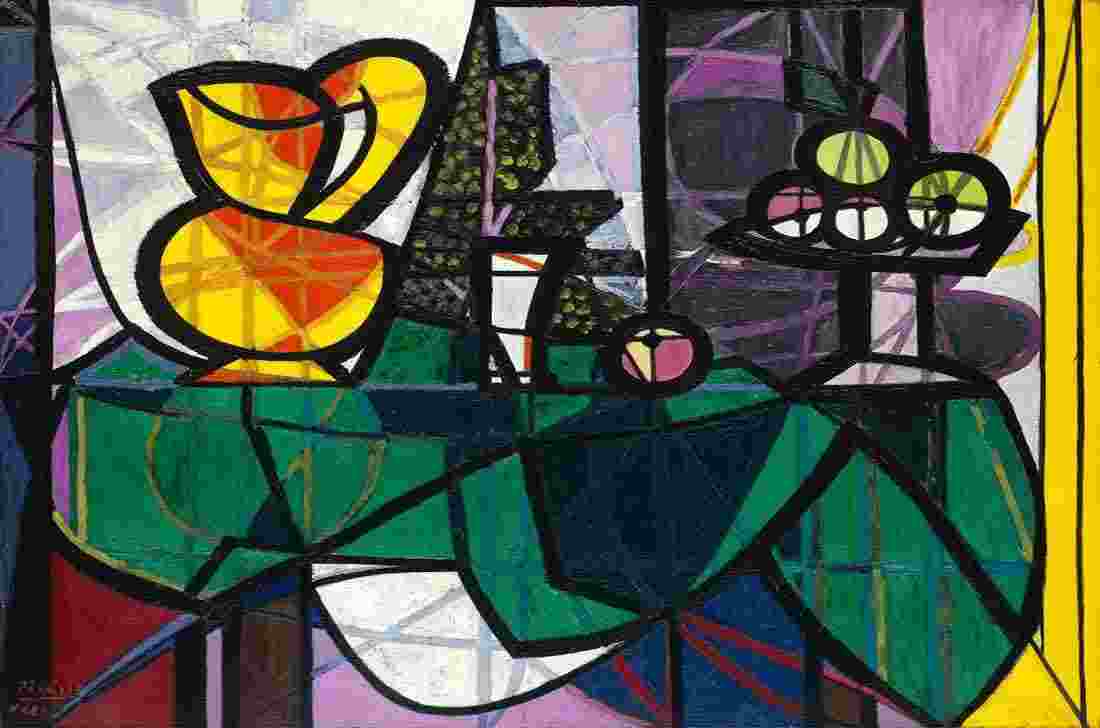
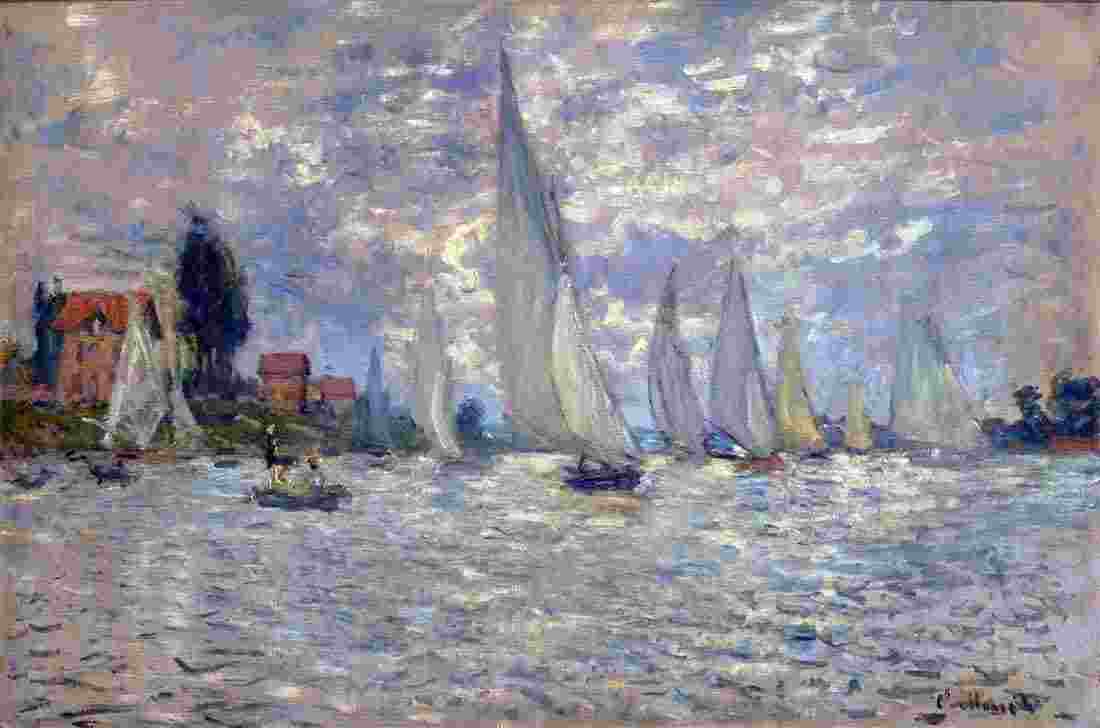
Artwork and Examples used in this lesson
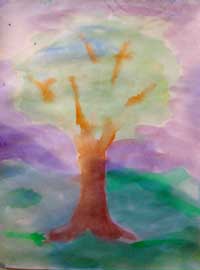
Teacher Example
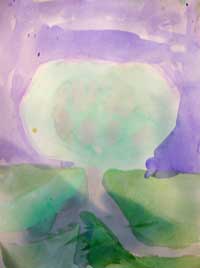
Student Artwork
Student Artwork


Arttango © All Rights Reserved 2013. All logos and images used on this site are the property of the rightful owner