


Kindergarten Art Lesson 16
Cool Curvy Lines and Warm Angular Lines, Part 1
Objective:
The student will learn the difference between warm and cool colors and distinguish between curvy and angular lines by doing a drawing.
Materials:
2, 6” x 9” sheets of white paper and crayons
Procedure:
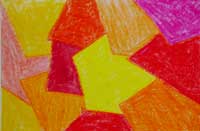
Introduce the class to the color wheel and explain that these are all of the basic colors that we use. If we draw an imaginary line at the right place we can divide the color wheel into warm and cool colors. Warm colors are all of the reds, oranges and yellows. Cool colors are all of the blues, greens and purples. It helps to remember that warm colors are the same as the colors in the sun which keeps you warm, and that cool colors are the same as the colors in the ocean which you can jump in to cool off. Warm colors tend to jump out at you and cool colors tend to recede into space. Have the children take a pile of crayons and divide them into stacks of warm and cool colors. (Pull out the browns, blacks, grays and whites - these are neutral colors and will be taught in first grade). Next, point out that two kinds of lines we often use are curvy lines and angular lines. Draw off examples of each so the students can see the difference. Distribute the paper, two sheets for each student, and explain that we are going to draw some cool curvy lines and then some warm angular lines. For the cool curvy lines take one cool color and draw curvy lines that divide the picture plane into shapes. Tell the class not to make the shapes to small or they will spend too much time coloring each one in. Next, color in each shape with other cool colors. When that drawing is complete take a warm color and draw off angle lines, again making sure the shapes are not too small. Color in these shapes using the other warm colors. Encourage the children to press down with their crayons and to control their coloring.
Conclusion:
Have the students compare their two drawings. Ask them to point to the drawing with warm colors, then cool colors, then curvy lines and finally angle lines. Encourage them to look for warm and cool colors as well as curvy and angle lines everywhere they go.
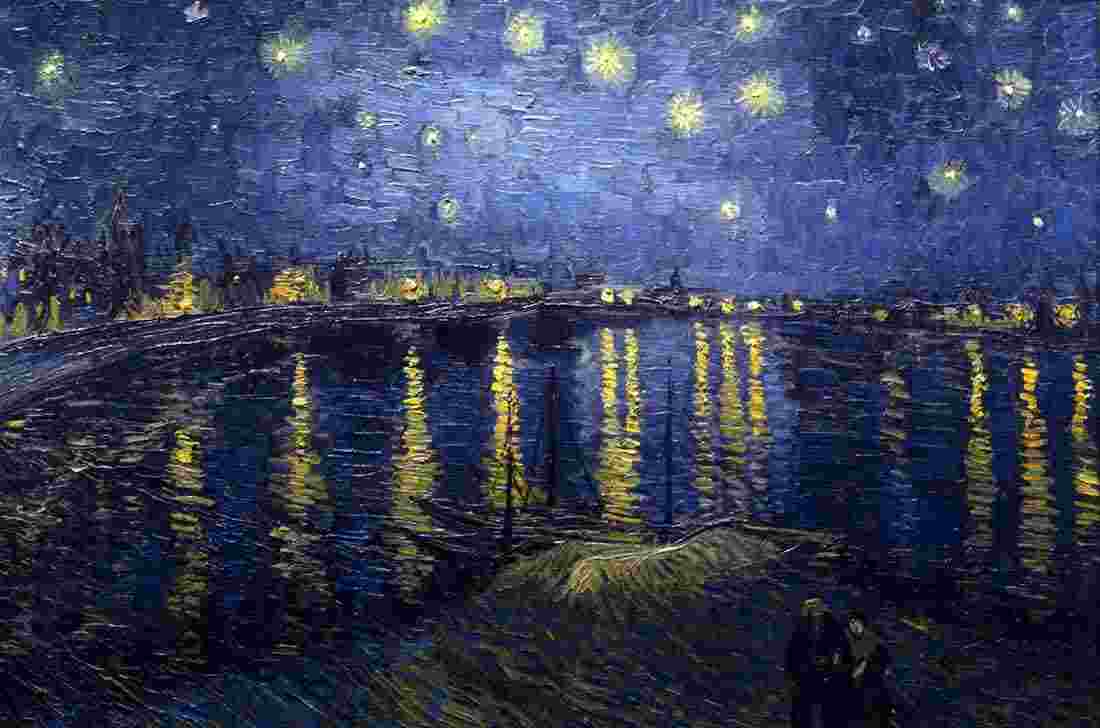
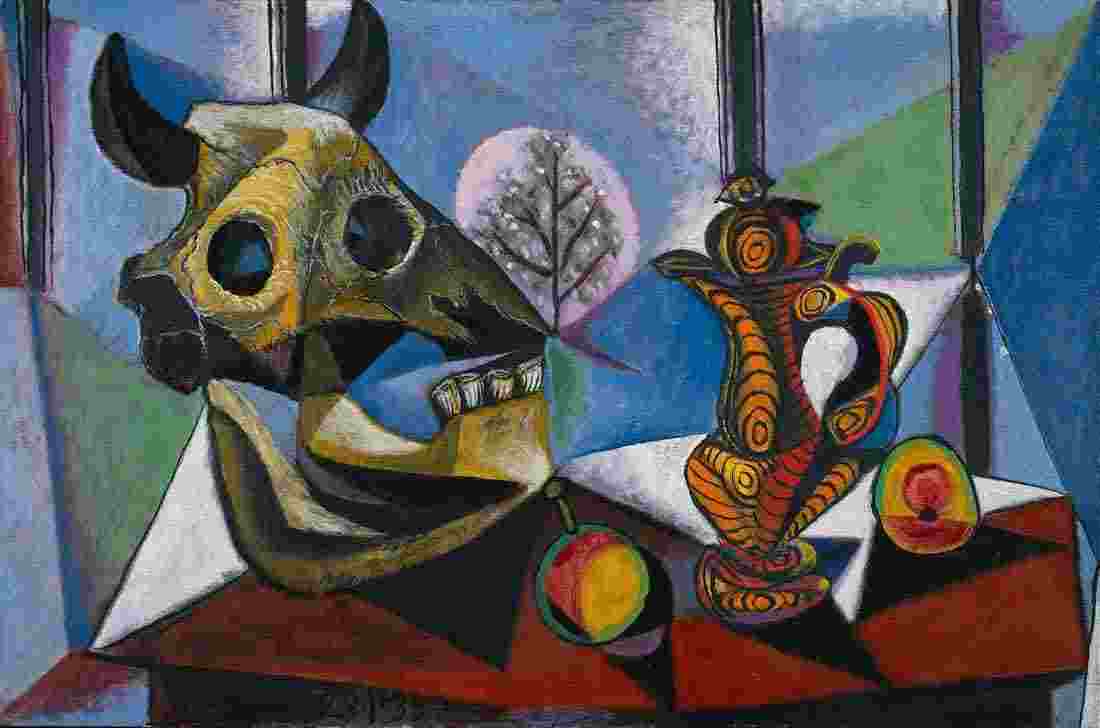
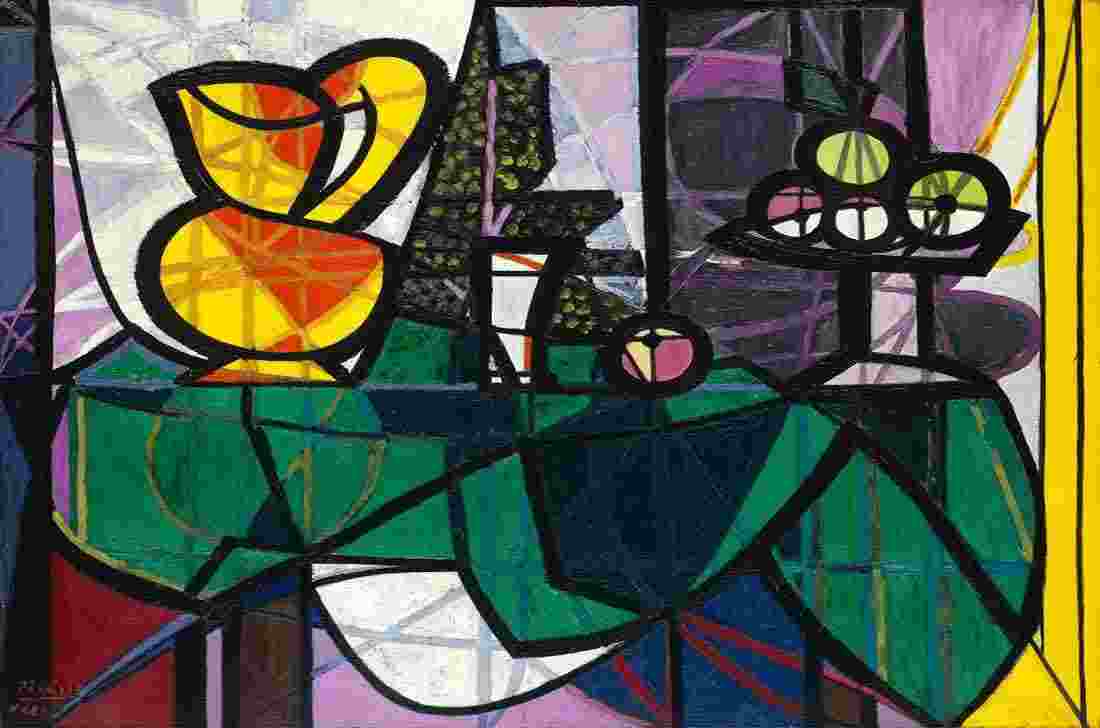
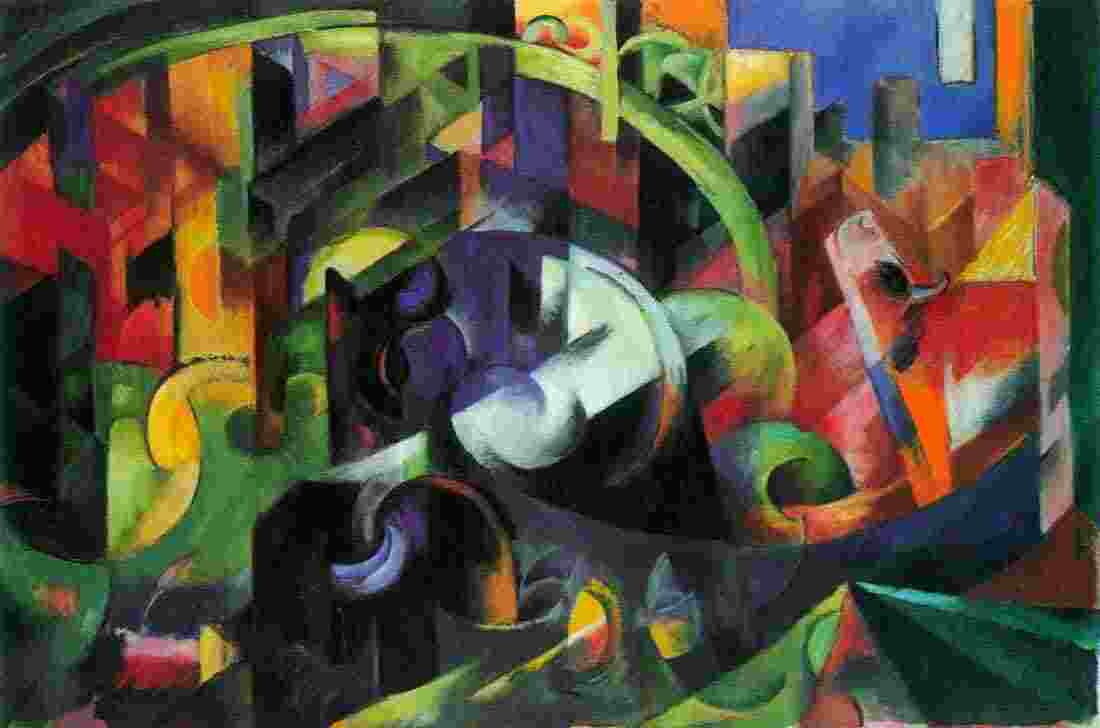
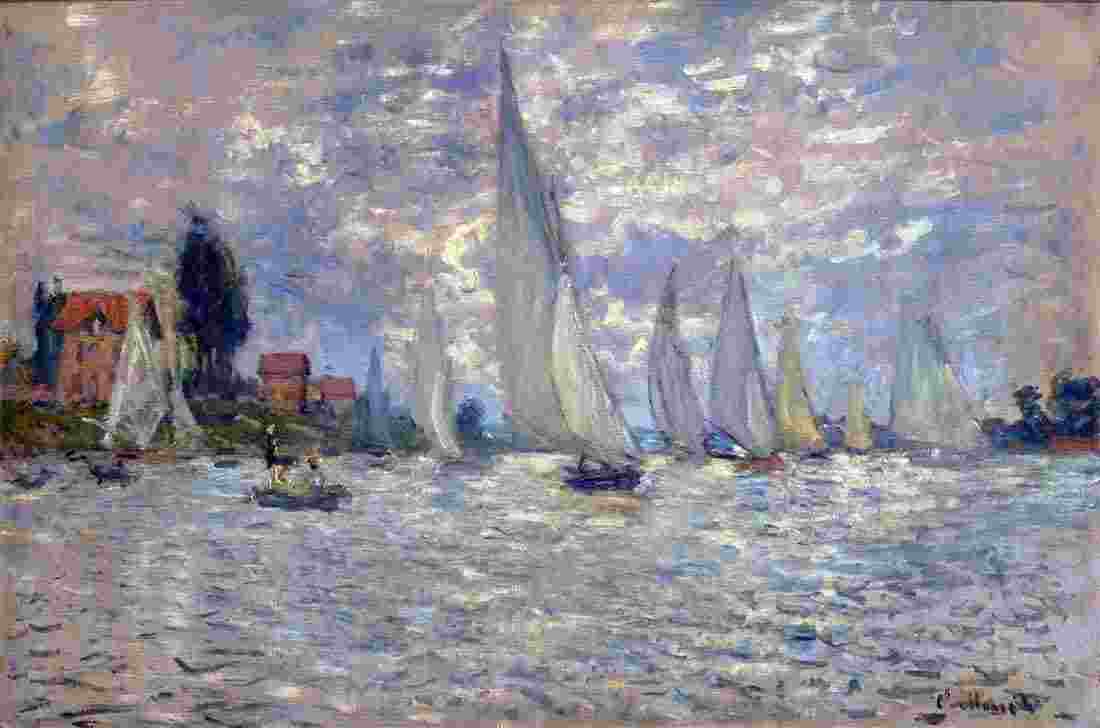
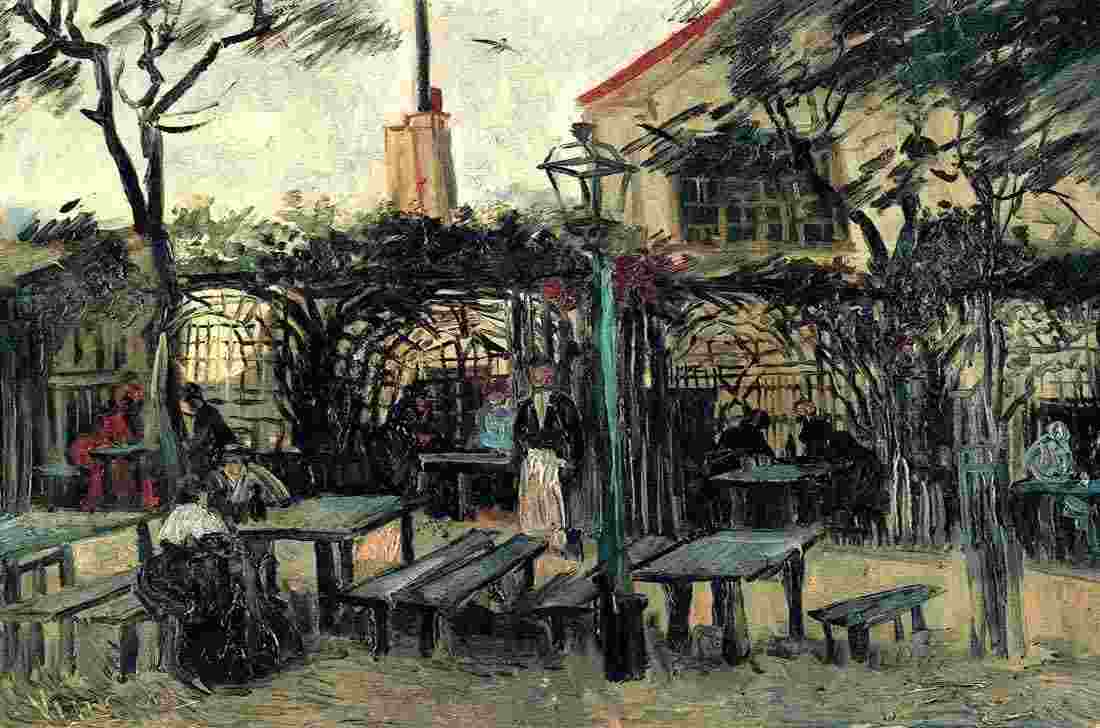
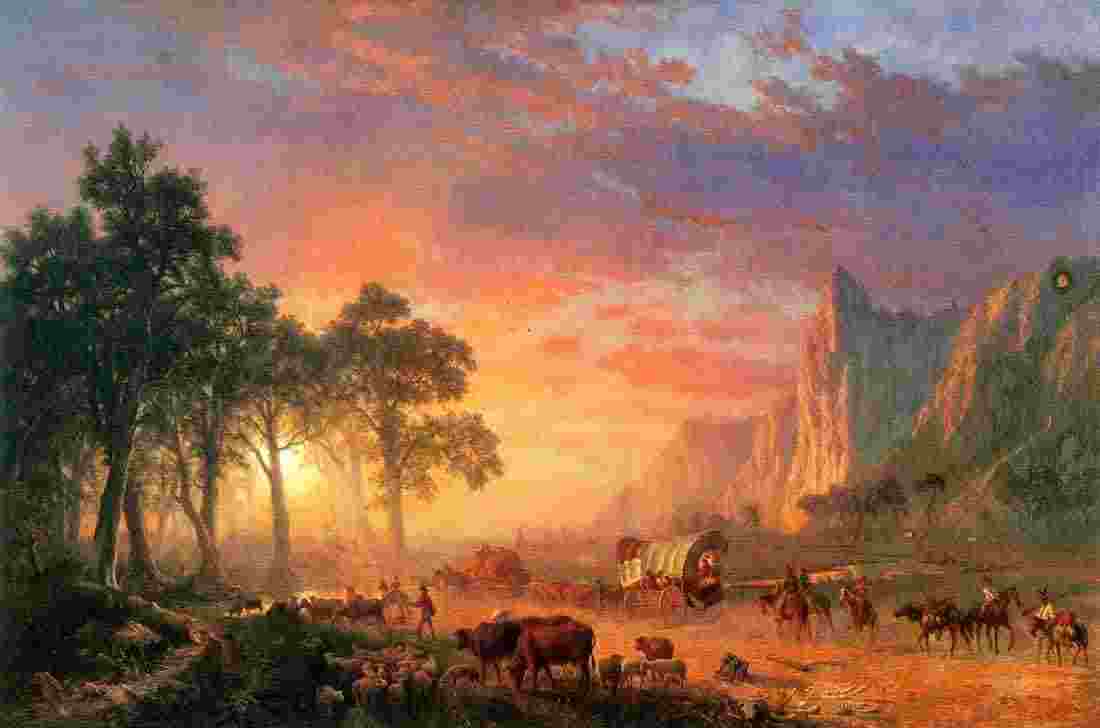
Artwork and Examples used in this lesson
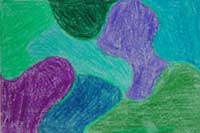
Teachers Example
Teachers Example


Arttango © All Rights Reserved 2013. All logos and images used on this site are the property of the rightful owner