


First Grade Art Lesson 9
Symmetry, Spin, Slide and Radial
Objective:
The student will work with shapes to create spin, slide, and radial symmetry.
Materials:
Scissors, glue sticks, 12 x 18 inch black and white paper
Procedure:
Today we are going to look at the different types of symmetry. Symmetry is the way things are composed or arranged. First let's look at formal, also called slide, symmetry. If you looked at your face and drew a line right down the center, what's on one side would also be on the other side. This is called formal or slide symmetry. Where else in nature can you find an example of symmetry? A butterfly is a wonderful example. Another type of symmetry is informal symmetry. As you may guess that means that what's on one side is not equally balanced with what's on the other side. For example if I drew a horizontal line across my face, what's on the top is not on the bottom. We also find many examples of informal symmetry in nature. Finally, spin or radial symmetry is when the arrangement extends from a central or center area. One of my favorite examples is a spider web or a flower. Take your white paper, fold it over twice, pick a letter that has curves in it. When you cut this letter our, you will have the same letter cut four times. Put your letters on your black paper and begin by placing them in a formal arrangement. If you use just two, and the other two are on top, slide them to the outer edges. Of course you have a formal composition, or slide symmetry. Arrange your letters so they are asymmetrical. Finally stack all your letters one on top of the other, and holding one corner, pull them apart to create a radial design. Pick your favorite arrangement and use a glue stick on the back of each letter and glue it down. Write down what type of symmetry you have used on the back of your paper.
Conclusion:
Review the three types of symmetry with the class. Point to different areas of the room and have them decide whether that area or object is symmetrical, asymmetrical, or radial.
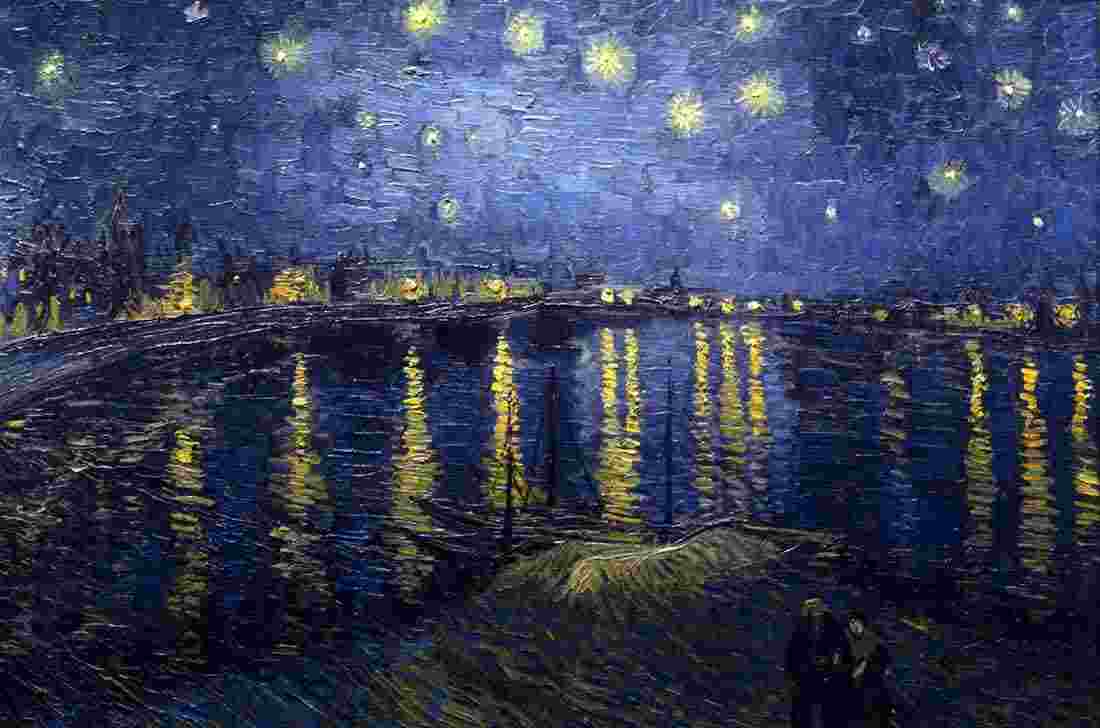
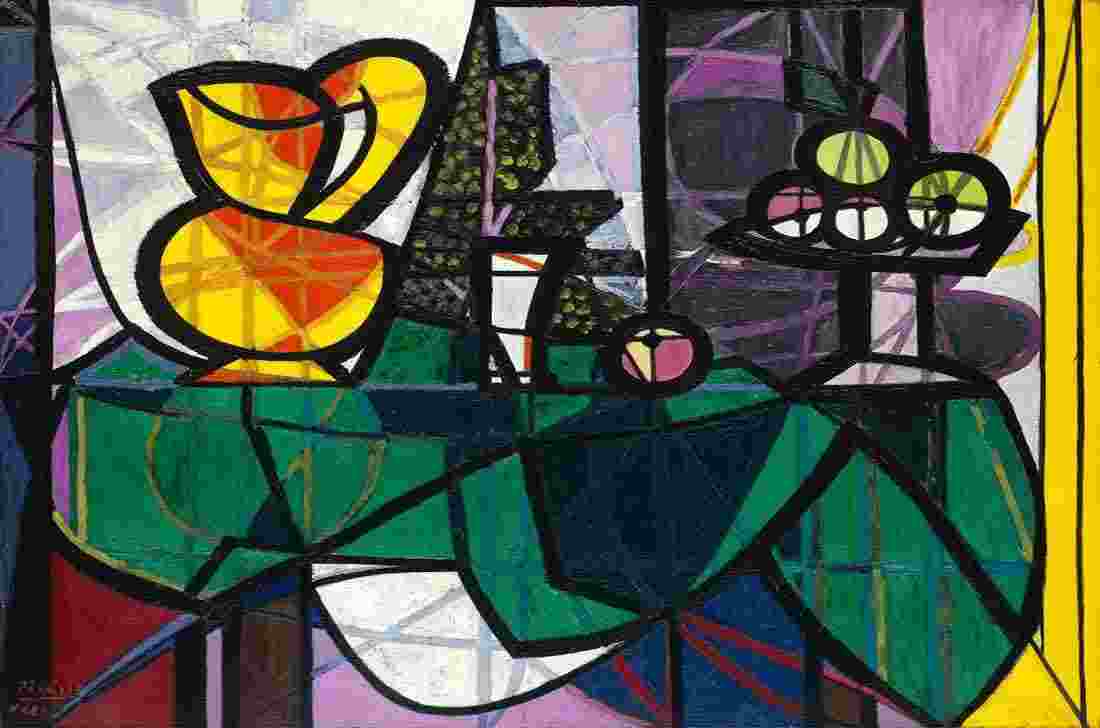
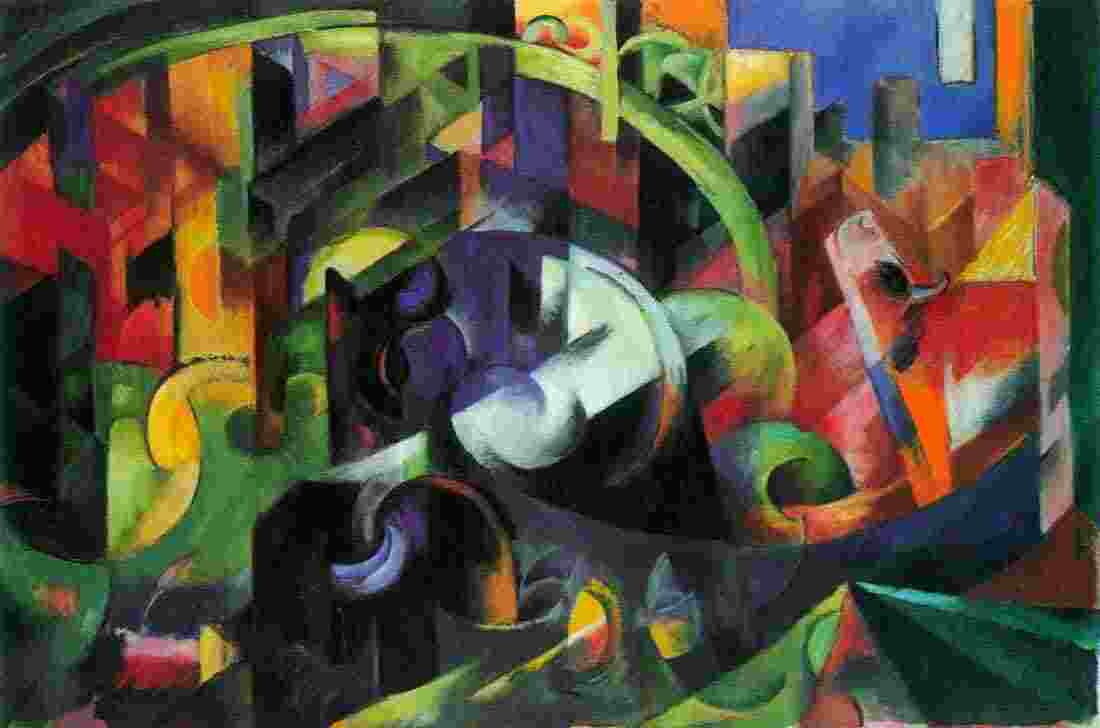
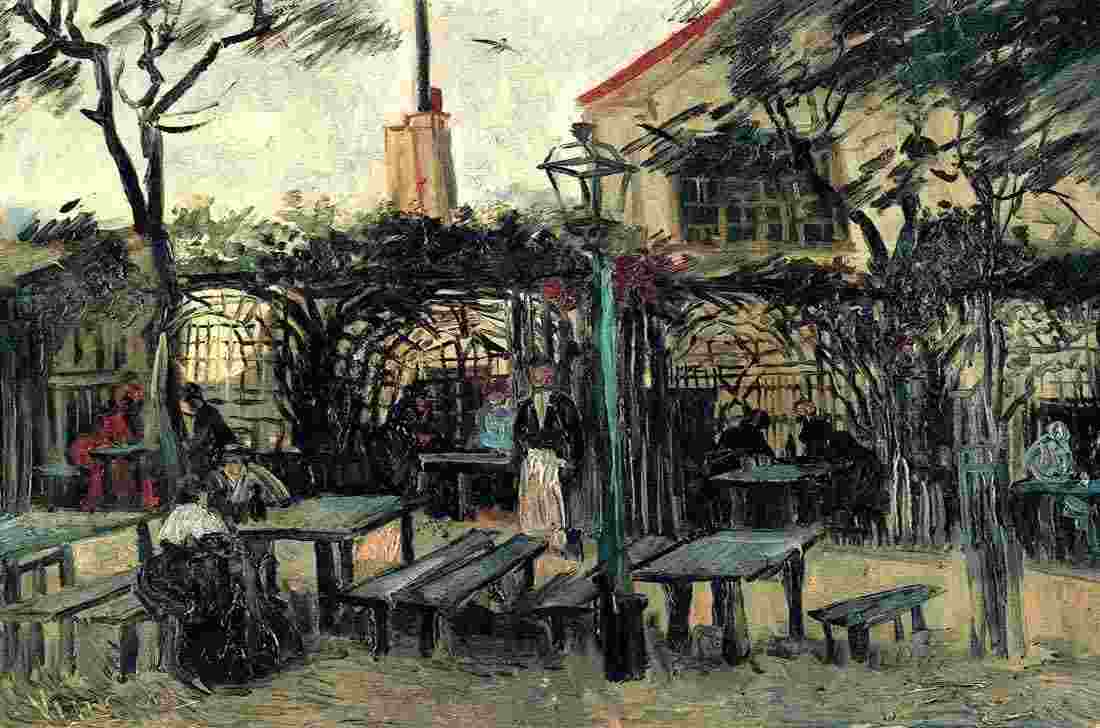
Artwork and Examples used in this lesson
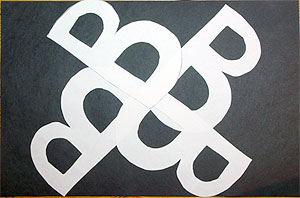
Teachers Example