First Grade Art Lesson 26
Flower Design Part 2 Etching Our Flowers
Objective:
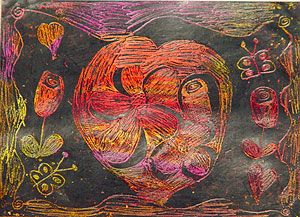
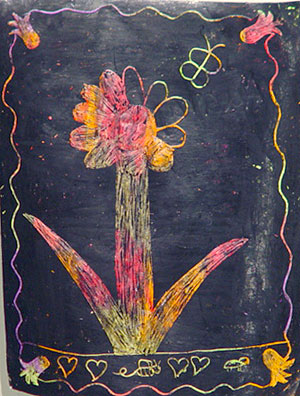
The student will complete a crayon etching using flowers as their subject.
Materials:
Work from last lesson, a blunt tool such as a dull primary pencil
Procedure:
Today we will begin our etching. You will need a tool with a blunt end such as a dull primary pencil. Hopefully you have had a chance to do your practice drawings of flowers by now. We are going to etch either one large flower or several smaller flowers, like a bouquet, onto our surface. Begin by simply drawing the outlines. If you make a mistake you can color over it with your black crayon. Once you have the outlines drawn, go into the petals and carefully scratch away the black so that they are in color. To distinguish between the petals, you might leave a thin black line showing. You want to reveal as much color as you can. If your finished work has a lot of black still showing, you may want to go around the edges to create a boarder or simple shapes to reveal more color. Your finished work should have more color than black showing. Control your tool and do not scribble.
Conclusion:
Look at your work and make sure that well over half of your drawing is in color. Mount your drawings on white boards and display them for everyone to enjoy or give them to someone special.
Artwork and Examples used in this lesson

Student Artwork

Student Artwork


