First Grade Art Lesson 25
Flower Design, Part 1 Planning, Surface Prep and Crayon Etching
Objective:
The student will prepare a surface on which they can make a crayon etching. The student will design a plan for their crayon etching using flowers as their subject.
Materials:
6 X 9 white paper, crayons, newspaper, flowers or photographs of flowers to look at and study
Procedure:
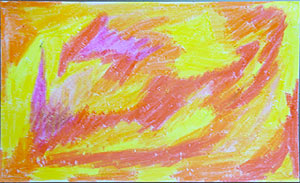
Today we are going to prepare a surface to create a drawing on. It is called a crayon etching and it allows you to scratch your work out of a black surface to reveal color. To begin, take your crayons and white paper. Put your paper on top of a sheet of newspaper. Color the white paper with all warm colors. This would include your reds, yellows and oranges and even your pinks and peach colors. Color solidly and make the edges of your color areas overlap so that all of your white paper is filled with color. When you finish, you will take a black crayon and cover over all of the warm colors. When we etch out of the black in our next lesson, the warm colors beneath will show through. Color your black as solidly as you can to cover over all of the color. Put your name on the back of your paper so you can be sure which one is yours. If you have time left in your class today, use it to look at and draw from pictures of flowers. I want you to become familiar with the real shape of flowers so that when you begin the etching process you can draw off believable flowers. So practice drawing and make a plan for your etching.
Conclusion:
Today we have prepared a surface for a crayon etching. We have used our warm colors under black to build up a surface we can “etch” a flower design out of. If you did not get a chance to practice drawing your flowers try to do so some time before our next lesson.
Artwork and Examples used in this lesson

Prepared Surface for Etching

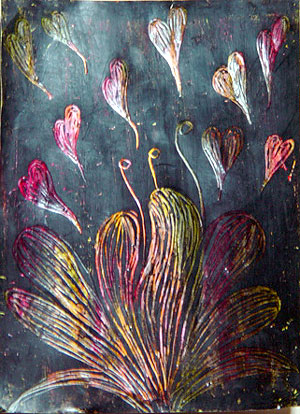
Teachers Example

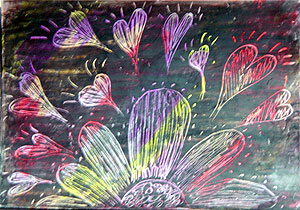
Student Artwork


