First Grade Art Lesson 18
Working with Landscapes, Part 2 Printing Our Landscapes
Objective:
The student will ink and print the plate of their landscape image.
Materials:
Water base printing ink (acrylic paint or tempera paint will work also), brayer (a paint brush if you are using paint), some type of tray to spread the ink onto the brayer, paper cut two inches larger than the printing plate several sheets per student, baby wipes or paper towels, newspaper to cover the working area, pencils
Procedure:
Today we will print our landscape images. To print using printing ink, squeeze out the printing ink onto the tray. Using a brayer, spread the ink to cover the roller of the brayer. The goal is to transfer the ink form the surface of the tray to the brayer, and then to transfer the ink from the brayer to the plate. Roll the brayer in the ink to spread it evenly onto the roller. Next, roll the inked brayer onto the plate making sure you spread the ink evenly all over the plate. If you are using paint, simply paint directly onto the surface of the plate with a paint brush. It is best if you can set up a separate table for printing. If so move to the clean area table to print your image. Place your paper on the table and carefully lay your inked plate on top of it. Be careful not to move your plate once it is on the paper to avoid smearing your image. If your fingers have ink on them, use a baby wipe or paper towel to clean them off. Press your paper across the back surface to make sure the entire image is engaged with the plate so the ink will transfer onto the paper. Carefully pull your print off of the plate and lay it on a drying rack or other safe place to dry. Repeat this process as many times as you can, re-inking the plate for each new print. When your prints are dry you will need to sign them. If you have a title for your work it should be written beneath your print in the center. You should sign your name on the bottom, left hand side of the print. On the bottom right hand side, write the printed sequence number. For example, if you made three prints, your first one would be numbered 1 / 3, meaning the first of three prints. The following ones would be 2 / 3 and 3 / 3. All signing should be written in pencil.
Conclusion:
We have completed another printing process. Rather than using a relief plate, we have used and incised line plate. How does your landscape prints look? Select the best one to mount and display. Use your other prints to give to friends or family.
Artwork and Examples used in this lesson

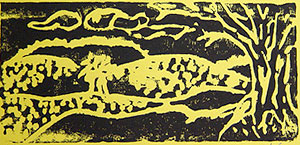
Teachers Example

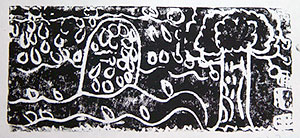
Student Artwork

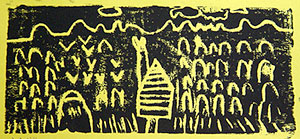
Student Artwork

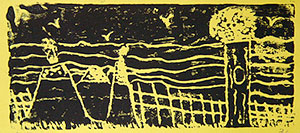
Student Artwork


